
You can safely handle a short list of furnace jobs yourself: swapping the air filter, cleaning the flame sensor, vacuuming the blower compartment, replacing a cracked igniter, and checking a drive belt. You should never touch gas-line connections, attempt heat-exchanger repairs, or adjust anything tied to combustion venting. That line isn't arbitrary. The National Fire Protection Association treats gas and combustion work as licensed-technician territory for good reason, and a typical professional furnace tune-up runs about $150 while an actual repair averages closer to $450, so knowing which side of that line you're on saves both money and risk.
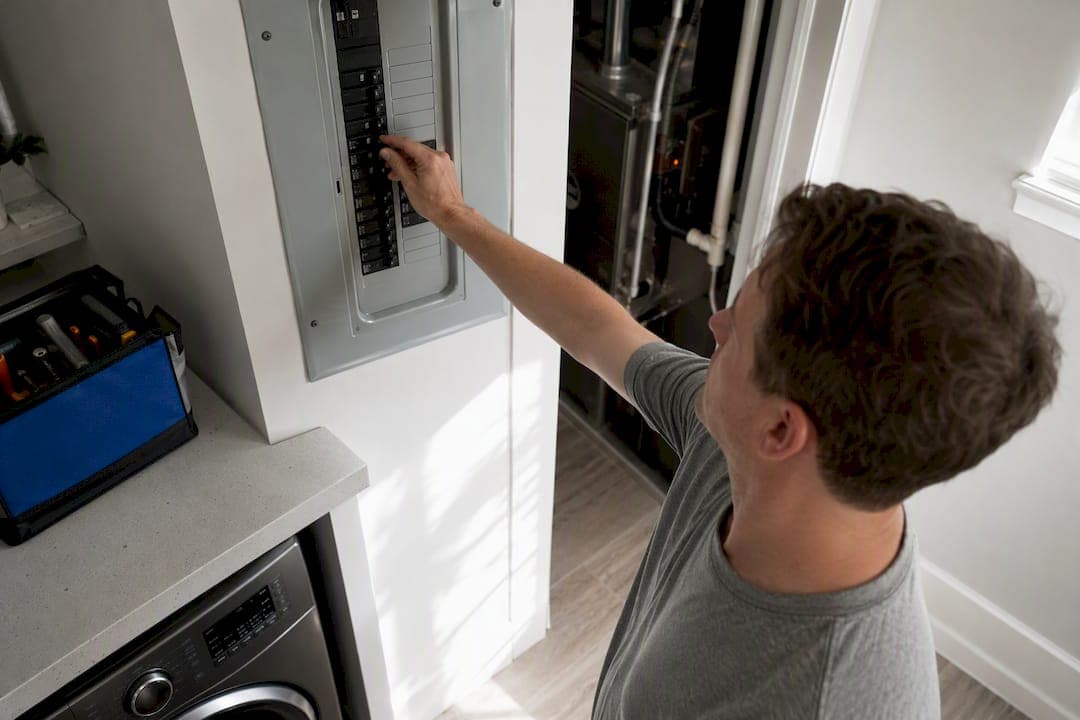
Before anything else: shut off power at the breaker, kill the gas valve, and check your carbon monoxide alarm. If you smell gas or the CO alarm sounds, leave the house immediately and call your gas utility or 911 from outside.
- Safe DIY: filter changes, flame sensor cleaning, blower vacuuming, igniter and belt replacement
- Never DIY: gas-line connections, heat-exchanger repair, venting adjustments, gas pressure settings
Pro Tip: Keep your furnace's model and serial number photographed on your phone. You'll need it whether you're ordering a $20 part or calling in a pro.
Key Takeaways
Safe DIY furnace repair covers filters, flame sensors, blowers, and belts, while gas lines, venting, and heat exchangers always require a licensed technician.
| Point | Details |
|---|---|
| Filters solve most no-heat calls | A clogged air filter is the most common cause of furnace failure; check it first. |
| DIY parts are cheap | Flame sensors, igniters, and pressure switches typically cost $15 to $70 to replace yourself. |
| Safety checks come first | Shut off power and gas, ventilate, and confirm your CO alarm before opening any panel. |
| Red flags mean stop immediately | Cracked heat exchangers, gas smells, and repeated CO alarms require a licensed technician. |
| Hybrid approach saves money safely | E320air handles gas, venting, and commissioning while you manage routine filter and cleaning tasks. |
Where to Learn More
- Family Handyman's maintenance guide covers step-by-step DIY tune-up instructions.
- Carrier's troubleshooting guide walks through common no-heat diagnostics.
- The Furnace Outlet explains where the DIY-to-pro line falls on installation jobs.
- EngineerSkill's commissioning guide details the pro-level checks that finish a proper installation.
Table of Contents
- Safety Steps Before Any Furnace Repair
- What Tools and Parts Do You Need?
- How Do You Perform Basic Furnace Maintenance?
- Why Is My Furnace Not Working Right?
- When Should You Call a Professional Instead?
- What Does Furnace Repair Actually Cost?
- When Should You Schedule Furnace Maintenance?
- What Do HVAC Technicians Check That You Can't?
- If You'd Rather Skip the DIY Part, Here's How E320air Helps
- Frequently Asked Questions
- Sources
Safety Steps Before Any Furnace Repair
Every furnace job starts the same way, regardless of how small the task looks. Flip the breaker labeled for the furnace, then also hit the physical switch near the unit (it looks like a light switch, often mounted on or near the furnace itself). Locate the gas shutoff valve on the pipe leading into the furnace; when the lever runs parallel to the pipe, gas is flowing, and turned perpendicular means it's off. Crack a window or door if you're working for more than a few minutes, and confirm your CO detector has a working battery before you begin.
If at any point you smell gas, see soot buildup around the burners, notice cracks in metal panels, or your CO alarm goes off, stop working and get out. Call your gas company's emergency line or 911. Don't try to diagnose the source yourself.
Some furnace work also runs into local permitting rules. Many jurisdictions require licensed contractors for gas connections or venting changes, and pulling a permit isn't optional in those cases, according to guidance on gas furnace replacement projects. Check with your city or county building department before assuming a repair is DIY-legal, not just DIY-possible.
- Shut off breaker and furnace switch
- Close the gas valve
- Ventilate the work area
- Test your CO alarm
- Watch for soot, cracks, or scorch marks near the burner assembly
Pro Tip: Treat every furnace visit like a mini home inspection. While the panels are off for maintenance, glance at the heat exchanger for rust streaks or hairline cracks. That combined check catches problems before they become carbon monoxide hazards.
What Tools and Parts Do You Need?
Most furnace maintenance requires tools you probably already own. Add an N95 mask, safety glasses, and work gloves, since furnace interiors collect dust, soot, and sharp sheet-metal edges.
Skip anything that requires a manometer or combustion analyzer. Those tools measure gas pressure and combustion quality, and using them correctly requires training most homeowners don't have.
- Nut driver set, screwdrivers, flashlight, socket set
- N95 mask, safety glasses, work gloves
- Replacement filter (correct size for your unit)
- Flame sensor, hot-surface igniter, blower belt (keep spares once you know your model)
- Thermostat batteries and a spare pressure-switch hose
Pro Tip: Try cleaning the flame sensor with fine sandpaper or steel wool before buying a replacement. It solves the problem more often than not, and it costs nothing. Only buy a new igniter if you can see a visible crack. Combustion analyzers and gas pressure gauges belong to licensed techs, not weekend toolkits.
How Do You Perform Basic Furnace Maintenance?
Work through these steps in order every time you do a maintenance pass. Skipping ahead is how people miss something that matters.
- Confirm power and gas are off. Recheck both before removing any panel.
- Replace or inspect the air filter. A dirty filter is the single most common cause of furnace problems, according to Carrier's troubleshooting guide, and it's the first thing any technician checks.
- Vacuum the blower compartment and combustion chamber. Use a shop vac with a brush attachment to clear dust without disturbing wiring.
- Clean the flame sensor. Remove the small metal rod near the burners, lightly sand the tip, and reinstall it snugly.
- Inspect burner flames and the heat exchanger. Flames should burn blue with a steady shape. Yellow, flickering flames or visible soot mean stop and call a professional.
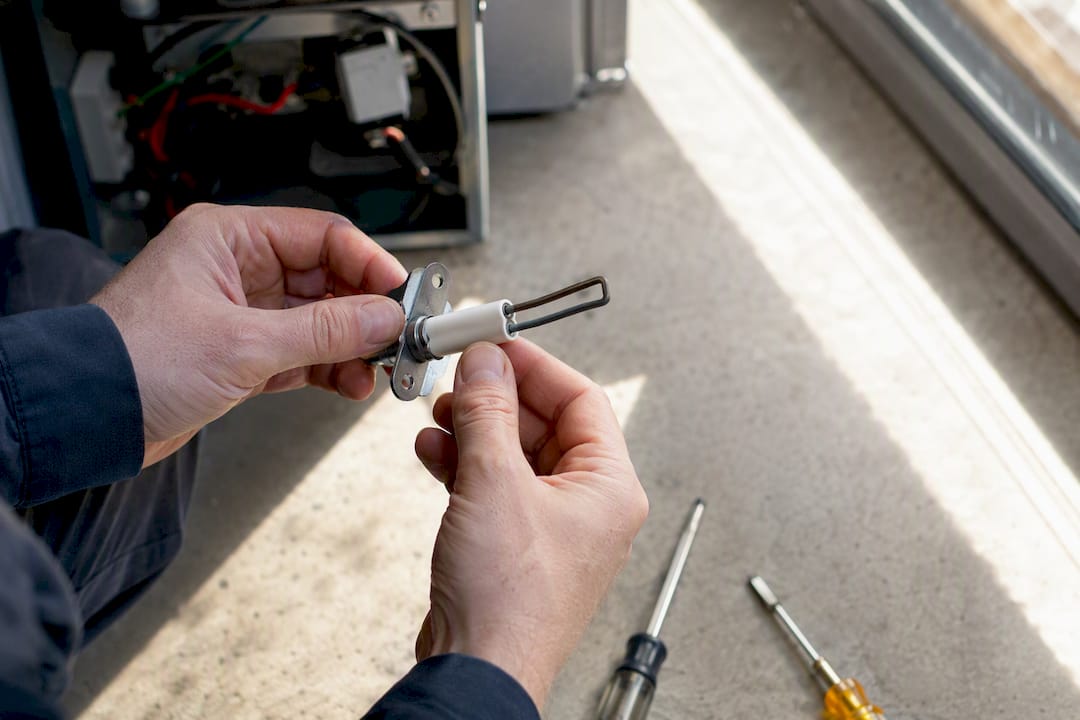
- Dust the hot-surface igniter without touching it directly. Oil from your fingers can cause premature failure. Use a soft brush or canned air instead.
- Remove and clean the blower wheel (squirrel cage) if you're comfortable with basic disassembly. Built-up dust here throws off airflow more than most people realize.
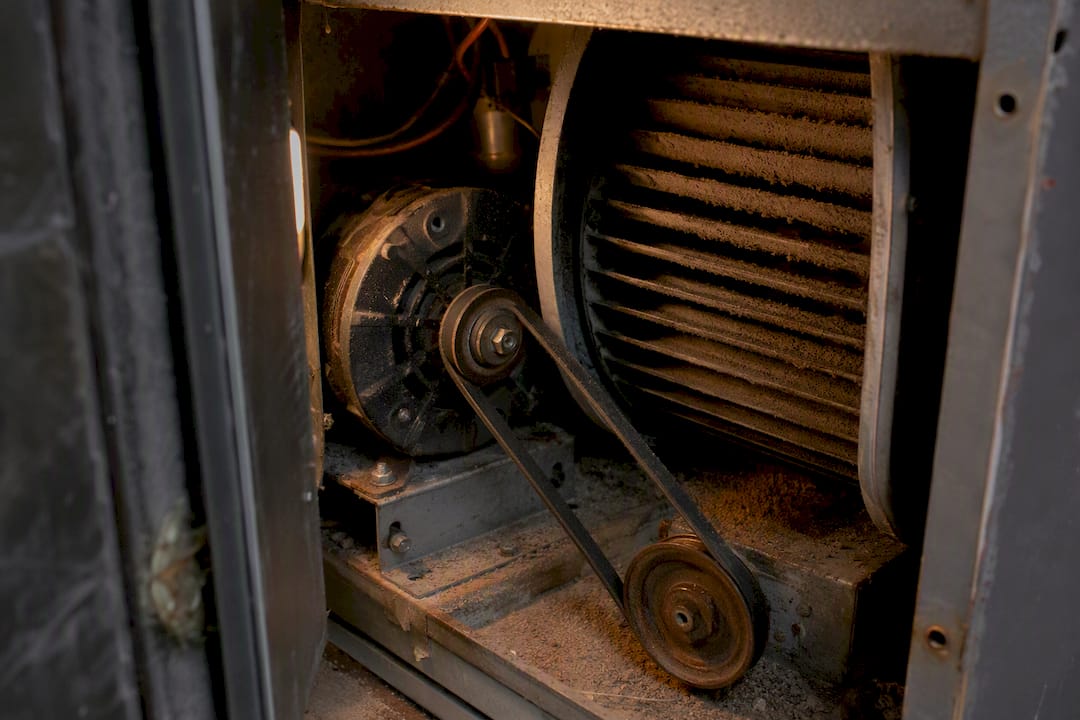
- Check the drive belt for cracking or slack, and lubricate motor bearings on older units that have oil ports.
If your furnace uses a standing pilot light instead of an igniter, relighting it safely follows its own sequence: turn the gas knob to "off" and wait five minutes for gas to clear, then switch it to "pilot," hold the reset button, light the pilot with a long lighter, and continue holding the button for about a minute before releasing it. If the pilot won't stay lit after two or three tries, that usually points to a failing thermocouple, which is an inexpensive part but fiddly to replace correctly.
Pro Tip: Hot-surface igniters are ceramic and break if you look at them wrong. Handle them by the mounting bracket, never the tip, and set them down on a soft cloth, not bare metal.
Why Is My Furnace Not Working Right?
Furnace troubleshooting comes down to matching the symptom to the most likely cause, then checking the cheapest and easiest thing first.
No heat at all usually traces back to the thermostat, a tripped breaker, a closed gas valve, or a filter so clogged the system shut itself down as a safety measure. Check those four things before assuming you need a new part.
Short cycling, where the furnace turns on and off rapidly, often comes from a dirty filter restricting airflow, a blocked vent, or a thermostat mounted somewhere that reads temperature inaccurately (near a sunny window, for instance).
Weak airflow points to a clogged filter, a struggling blower motor, or leaky ductwork bleeding air before it reaches your vents. Sealing duct connections is a low-cost DIY fix that often recovers noticeable airflow.
Strange noises, grinding, or squealing, generally mean a worn bearing, a loose belt, or a blower wheel knocking against debris.
Burning smells during the first run of the season are normal, dust burning off the heat exchanger. A persistent smell, or anything resembling rotten eggs, means gas and requires immediate action.
Common part costs run low. Hot-surface igniters, flame sensors, and pressure switches are generally inexpensive to replace by yourself, based on pricing from OTP HVAC. Blower belts typically run under $20.
- No heat: check thermostat, breaker, gas valve, filter
- Short cycling: check filter, vents, thermostat placement
- Weak airflow: check filter, blower, duct seals
- Strange noises: check bearings, belt tension, blower wheel clearance
- Gas smell: stop immediately, leave the house, call for help
Pro Tip: Write down what you checked and in what order before calling a technician. It cuts diagnostic time in half and often lowers the service bill.
When Should You Call a Professional Instead?
Some furnace problems are safety issues disguised as repair jobs, and DIY furnace repair stops being the right call the moment combustion, gas, or venting is involved.
Call a licensed technician immediately if you find a cracked or rusted heat exchanger, your CO alarm keeps triggering, you smell gas anywhere near the unit, or you notice venting and flue problems like disconnected pipe sections. The same goes for gas-valve replacement, gas-line work of any kind, control-board troubleshooting, a failed inducer motor, or a leaking condensate drain on a high-efficiency furnace that keeps tripping the safety switch.
Each of these carries a real hazard. A cracked heat exchanger can leak carbon monoxide into your living space without any smell or visible warning. Gas-line work done wrong risks explosion. Botched electrical work risks fire. And most of these repairs require permits, meaning a DIY attempt can also create problems when you sell the house.
When you call, have your furnace's model and serial number ready, describe exactly what you saw or smelled, note any error codes or blink patterns on the control board, and send photos if the company allows it.
- Cracked or rusted heat exchanger
- Repeated CO alarm activation
- Gas smell or suspected leak
- Venting, flue, or inducer failure
- Control-board or complex wiring issues
- Leaking condensate drain on a high-efficiency unit
Pro Tip: You don't have to choose all DIY or all professional. Handle the filter changes, cleaning, and belt swaps yourself, and bring in E320air's HVAC repair services for anything involving gas or combustion. That hybrid split, as The Furnace Outlet points out, preserves most of the savings without the risk.
What Does Furnace Repair Actually Cost?
DIY parts stay cheap and quick. A flame sensor takes fifteen minutes and costs $15 to $30. An igniter swap takes about the same time for $30 to $70. A pressure switch runs $20 to $45 and takes maybe twenty minutes once you know where it sits.
Professional work costs more but includes labor, diagnostics, and (for anything gas related) proper commissioning with a manometer to confirm manifold pressure and temperature rise, which isn't something a homeowner should attempt without training, according to EngineerSkill's commissioning guide.
Pro Tip: Renting a manometer or combustion analyzer for a one-time job can be quite expensive, costing several hundred dollars, according to The Furnace Outlet. At that price, a professional visit often costs about the same and comes with the training to use the tools correctly.
When Should You Schedule Furnace Maintenance?
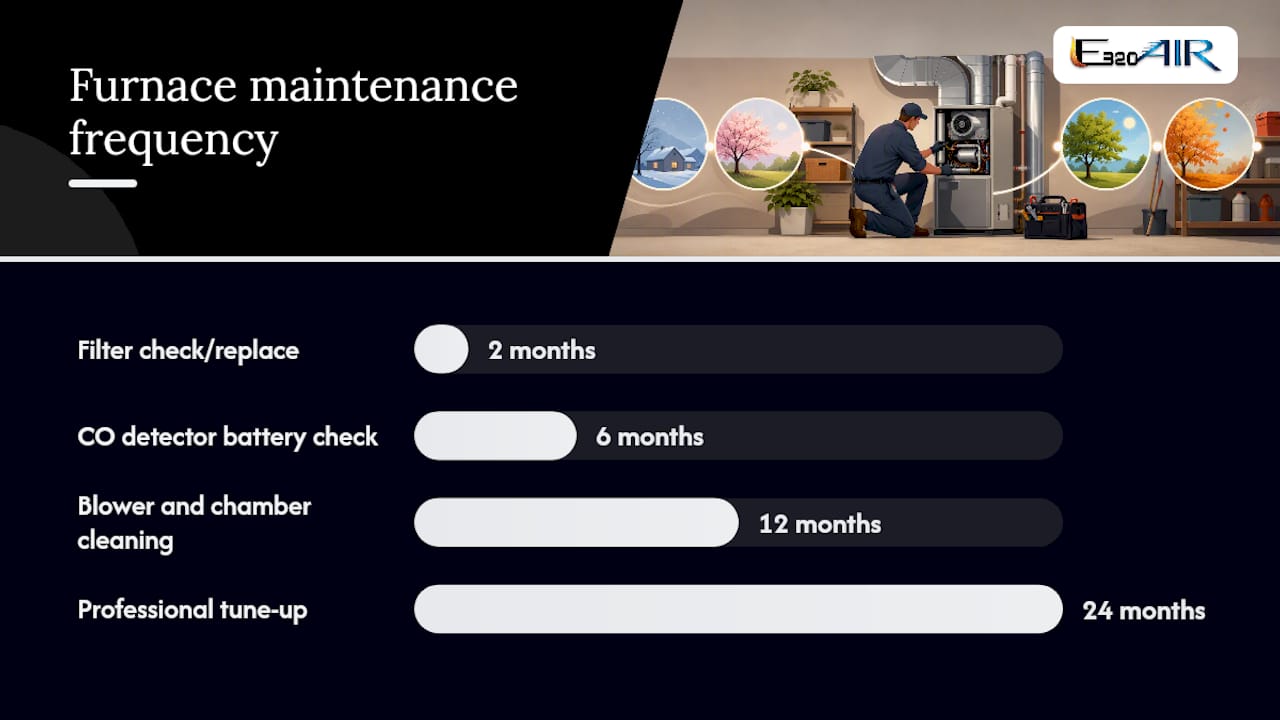
Furnace maintenance works best on a schedule, not as a reaction to a cold house. Check or replace your filter every one to three months depending on the type and whether you have pets or allergies in the house. Vacuum the blower and combustion chamber once a year, ideally in early fall before the heating season starts. Book a professional tune-up every one to three years for gas furnaces, and change your CO detector batteries at every seasonal clock change.
| Task | Frequency | Who Does It |
|---|---|---|
| Filter check/replace | Every 1–3 months | Homeowner |
| Blower and chamber cleaning | Annually | Homeowner |
| Professional tune-up | Every 1–3 years | Licensed technician |
| CO detector battery check | Every 6 months | Homeowner |
Pro Tip: Tie your filter checks to something you already do, like the start of each season, so it doesn't slip your mind during the busiest heating months. Seasonal home heater maintenance habits like this cut down on mid-winter breakdowns more than any single repair.
What Do HVAC Technicians Check That You Can't?
Technicians measure things you likely can't check at home: temperature rise across the heat exchanger, manifold gas pressure, flue draft strength, the microamp flame signal at the sensor, and blower motor amp draw. These numbers catch problems long before symptoms show up.
The most common homeowner mistakes are touching a hot-surface igniter with bare fingers, over-tightening electrical terminal screws until they strip, and knocking the pressure-switch tubing loose during a filter change.
- Temperature rise and manifold pressure: professional-only checks
- Flame signal and blower amp draw: diagnostic tools most homeowners don't own
- Avoid touching igniters, over-tightening terminals, or bumping pressure-switch hoses
Pro Tip: Photograph your work before and after, and note the date and any part numbers. It protects your warranty and gives a technician a head start if something needs follow-up.
A Note From E320air
We want homeowners confident enough to handle filters, sensors, and belts without hesitation. But gas connections, venting, and combustion adjustments belong with a licensed technician, every time, no exceptions. Reach out to E320air when a job crosses that line.
If You'd Rather Skip the DIY Part, Here's How E320air Helps
Not every furnace problem is a Saturday-afternoon project, and that's fine. E320air handles the jobs this article told you to avoid: gas-line connections, venting corrections, combustion adjustments, and full commissioning with the pressure and temperature checks a manometer requires. We also run standard tune-ups, safety inspections, and emergency repairs when something goes wrong at the worst possible time.
The hybrid approach works well here. Handle your own filter changes, sensor cleaning, and belt swaps, then bring in E320air for anything gas or electrical. You keep the easy savings without touching the parts of the job that carry real risk. Check our problem-solving gallery to see the kinds of repairs our technicians handle daily, from cracked heat exchangers to failed inducer motors.
When you call, have your furnace's model and serial number ready, a description of the symptom, any photos you've taken, and a quick rundown of what you've already tried. If you're facing a bigger decision, like whether to repair an aging unit or move to a full furnace replacement, our team can walk you through the tradeoffs on the same call. Reach out through E320air to schedule a visit.
Frequently Asked Questions
Can I really fix my furnace myself? You can safely handle filter changes, flame sensor cleaning, blower vacuuming, and swapping a cracked igniter or worn belt. Gas connections, heat-exchanger repairs, and venting adjustments need a licensed technician.
What's the most common furnace problem, and can I fix it myself? A dirty air filter causes the majority of no-heat calls, and yes, you can fix that yourself in about two minutes by swapping in a new one.
How do I know if my heat exchanger is cracked? Look for soot buildup, yellow or flickering flames instead of steady blue ones, or a rattling sound from inside the burner compartment. Any of these means stop and call a professional immediately.
Is it safe to relight a pilot light myself? Yes, if your furnace uses a standing pilot, following the manufacturer's printed relighting steps on the unit is a standard homeowner task. If it won't stay lit after a few tries, the thermocouple likely needs replacing.
How often should I replace my furnace filter? Every one to three months, depending on filter type, pets, and household allergy sensitivity. Homes with pets or heavy dust often need monthly changes.
When does furnace troubleshooting turn into an emergency? Any gas smell, CO alarm activation, or visible flame irregularity means you leave the house and call for emergency help immediately. Don't try to diagnose it first.
Sources
- Do-it-yourself furnace maintenance will save a repair bill | Family Handyman
- Engineerskill
- DIY vs Pro Install: Can You Install an 80,000 BTU Furnace Yourself? | The Furnace Outlet
- Furnace Not Heating? 6 Parts to Check Before Calling a Pro | OTP HVAC
- Furnace troubleshooting guide | Carrier