
TL;DR:
- Proper HVAC startup verifies airflow, refrigerant charge, and safety controls to ensure long-term efficiency and avoid early failures. Skipping permit checks, documentation, or initial diagnostics can void warranties and cause system problems that are costly to fix later. Monitoring performance during the first 90 days helps homeowners catch issues early, maintaining system health and saving energy.
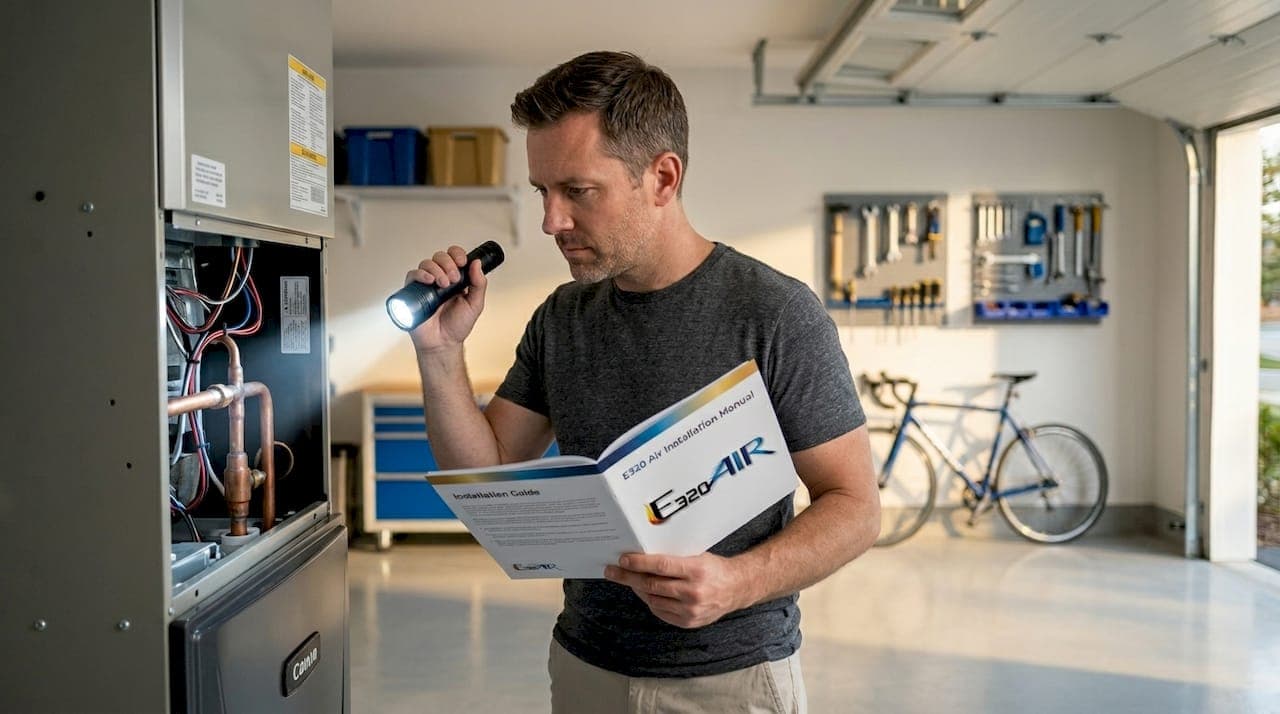
Getting a new HVAC system installed is exciting. But what happens in the first hour of operation matters more than most homeowners realize. The hvac system startup process is where proper installation either gets confirmed or quietly fails. Many units get powered on without a single measurement taken, and the result is a system that runs fine for a few months before problems appear: higher bills, uneven temperatures, or a compressor that wears out years too early. This guide walks you through exactly what a correct startup looks like, from pre-checks to the first 90 days of operation.
Table of Contents
- Key Takeaways
- Prerequisites for the HVAC startup process
- Step-by-step startup procedure
- Common startup errors and how to fix them
- Monitoring your system in the first 90 days
- Why proper startup matters more than homeowners think
- Let E320air handle your HVAC startup right
- FAQ
Key Takeaways
| Point | Details |
|---|---|
| Startup is not just power-on | Proper commissioning verifies airflow, refrigerant charge, and safety controls before the system runs unattended. |
| Permits protect your investment | Skipping permits can invalidate your warranty and create code violations that cost more to fix later. |
| First 15 minutes are diagnostic gold | Temperature rise and split tests in the first 15 minutes reveal installation quality that predicts years of performance. |
| Documentation matters for warranty | Keeping a commissioning report with pressures, airflow, and charge data protects your manufacturer warranty. |
| First 90 days require active monitoring | Watch for unusual sounds, smells, or inconsistent output rather than making premature adjustments. |
Prerequisites for the HVAC startup process
Before you flip a single breaker, you need to confirm that everything upstream is ready. Skipping this phase is the number one reason startups go wrong. Think of it as a preflight checklist: pilots do not take off hoping the fuel gauge works.
Tools and materials you will need
| Tool or Material | Purpose |
|---|---|
| Multimeter | Check voltage, continuity, and electrical connections |
| Thermometer or temperature clamp probe | Measure supply and return air temperatures |
| Manometer or static pressure gauge | Verify duct pressure and airflow balance |
| Leak detection solution or electronic detector | Check refrigerant and gas line connections |
| Flashlight and inspection mirror | Inspect hard-to-reach duct and wiring areas |
| HVAC manufacturer startup form | Record all baseline measurements for warranty documentation |
Safety checks before anything powers on
Check every electrical connection for proper grounding. Verify that refrigerant lines are fully brazed and insulated, that the condensate drain line has a clear path to discharge, and that all supply and return registers are open and unobstructed. For gas systems, do a quick sniff test around the gas valve and connections before startup. Any smell of sulfur means you stop and call your gas company before proceeding.
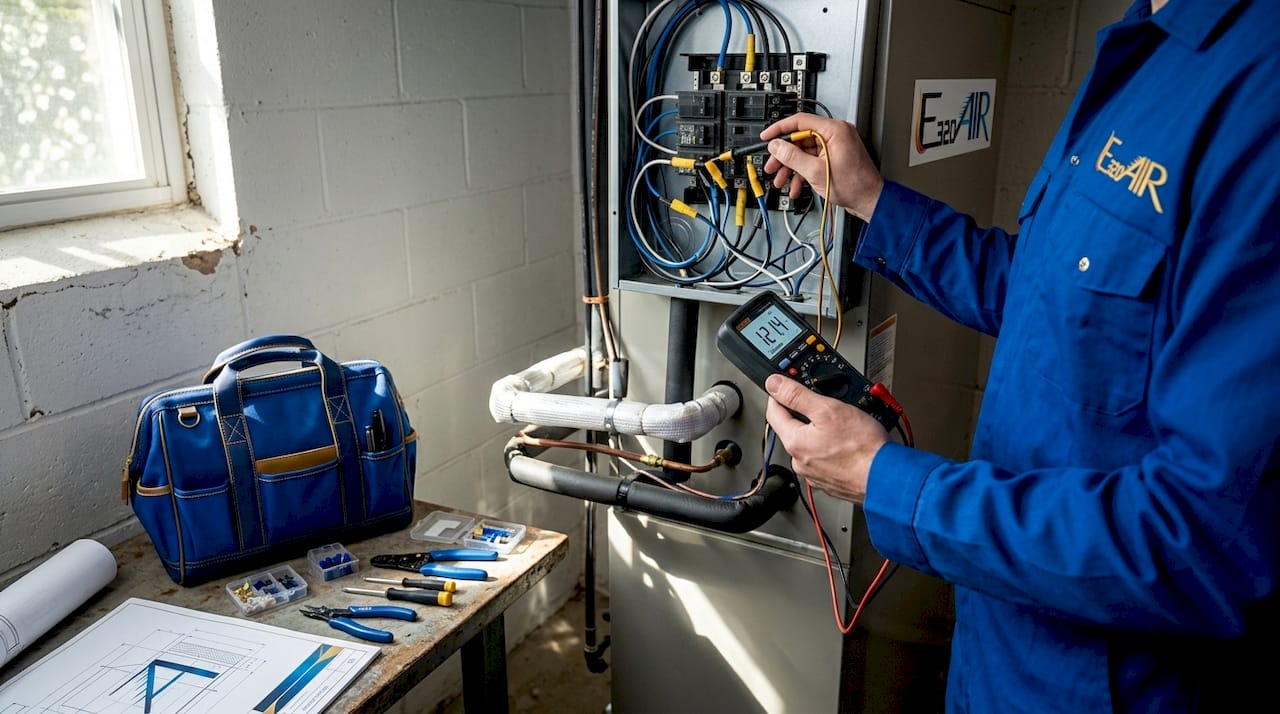
Look at installation steps and permits before you start. HVAC replacement permits typically cost $50 to $200 and take one to five business days to process. Skipping them can void your warranty and leave you liable for code violations when you sell the house. That is a significantly bigger problem than the permit fee.
Pro Tip: If your installer did not pull a permit, ask before startup. Most jurisdictions allow a retroactive permit, but the window closes once an inspection reveals unpermitted work.
Check that all ductwork connections are sealed and supported, that refrigerant line sets are the correct length and diameter per the manufacturer spec, and that the electrical disconnect box near the outdoor unit is properly rated for the equipment amperage.
Step-by-step startup procedure
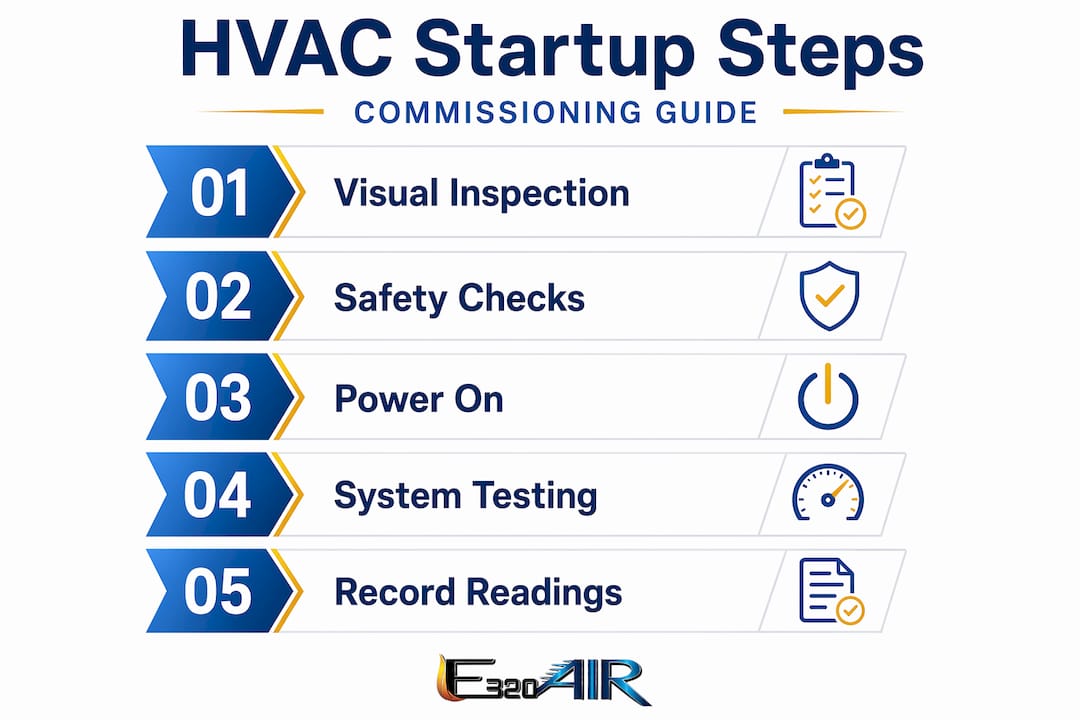
Proper commissioning tests, verifies, and documents performance against design specs. Here is how to execute the start-up procedure for HVAC correctly.
-
Set the thermostat to a neutral position. Before powering the system, set the thermostat to "fan only" mode. This lets you confirm the blower operates correctly without firing the compressor or burners.
-
Restore power at the breaker and disconnect. Turn on the main breaker for the air handler or furnace first, then the outdoor disconnect. Wait at least two minutes before calling for cooling. This allows the crankcase heater to protect the compressor.
-
Observe the blower operation. Listen for unusual mechanical noise. Check that the blower wheel spins freely and that return air is pulling correctly at the filter grille. A weak pull usually points to a clogged filter or a disconnected duct.
-
Call for cooling and observe the startup sequence. The contactor should close, the compressor should start, and outdoor fan should spin within five seconds. Any clicking without the compressor starting points to a refrigerant pressure or electrical issue.
-
Check airflow at every register. Professional commissioning requires airflow at each register to be within 10% of design airflow. Registers that feel dead or weak indicate duct leaks or balancing problems.
-
Run the temperature split test. Measure the return air temperature at the air handler and the supply air temperature at the nearest supply register. For cooling, you want a split of 16°F to 22°F. Outside that range, refrigerant charge or airflow is off. The first 15 minutes of operation deliver readings that act like a lie detector for installation quality.
-
Verify refrigerant charge by superheat or subcooling. Measuring refrigerant charge by superheat or subcooling is the only accurate way to confirm correct charge. Eyeballing pressures is not enough. Incorrect charge wastes energy and shortens compressor life significantly.
-
Test the condensate drainage. Pour a cup of water into the primary drain pan. Confirm it drains freely. Then test the float switch by filling the pan slightly above the switch level. The system should shut off within 60 seconds.
-
Switch to heating mode and repeat key checks. Verify the heat strips or gas burners ignite correctly. Measure temperature rise across the heat exchanger. Document everything.
Pro Tip: Keep a dedicated notebook or spreadsheet for your startup readings. Manufacturers increasingly require proof of a documented startup process when you file warranty claims. Photos of gauges and readings count.
Sample startup documentation checklist
| Measurement | Acceptable Range | Your Reading |
|---|---|---|
| Supply/return temperature split (cooling) | 16°F to 22°F | _______ |
| Static pressure (external) | Per equipment spec | _______ |
| Refrigerant subcooling or superheat | Per manufacturer chart | _______ |
| Condensate drain flow | Clear, no backup | _______ |
| Blower amp draw | Within nameplate rating | _______ |
Common startup errors and how to fix them
Even careful DIYers run into problems. The good news is that most startup issues are diagnosable if you know what to look for. Here are the ones E320air sees most often.
-
Short cycling. If the compressor runs for less than three minutes and shuts off repeatedly, the refrigerant charge is wrong, the system is oversized, or a safety control is tripping. Do not ignore this. Short cycling destroys compressors within one to two seasons.
-
Weak or uneven airflow. Dead registers after startup almost always indicate a disconnected duct, a damper stuck closed, or an undersized return. Check physically before calling for a service visit.
-
Condensate backing up immediately. A drain line that backs up on day one was improperly sloped or had a blockage from construction debris. Clear the line before the system runs unattended overnight.
-
Unusual burning smell on first heat cycle. A mild dust smell on the first heat run is normal. A sharp chemical or electrical smell is not. Shut down and inspect wiring and heat exchanger connections.
-
CO reading on gas furnace. Combustion testing is vital for safety and heat exchanger health but is often omitted in basic checks. CO readings under 100 ppm air-free are acceptable. Above 400 ppm is a serious red flag requiring immediate shutdown and professional assessment.
When to call a pro: If you see refrigerant pressures outside normal range, cannot clear a CO reading, or the compressor refuses to start after two attempts, stop. Continuing to power cycle a struggling system causes more damage than the original problem. A licensed technician with proper tools can resolve these issues in one visit.
Pro Tip: Request commissioning documentation from your installer before they leave the job site. This report, which includes airflow measurements, pressures, and refrigerant charge data, is your proof that the system was set up correctly. Without it, a warranty claim based on improper installation becomes your word against theirs.
Review the stages of HVAC replacement if you are unsure which steps your installer already completed before you begin your own verification.
Monitoring your system in the first 90 days
The first 90 days after startup are an observation phase focused on watching for instability rather than making adjustments. Resist the urge to tweak settings every week. Systems need time to settle into their operating rhythms.
Here is what to track during this window:
- Monthly filter checks. A new system in a freshly worked home picks up significant construction dust in the first month. Check the filter at 30 days even if your schedule says 90.
- Temperature consistency room to room. More than a 4°F variation between zones or rooms points to airflow imbalance that should be addressed, not ignored.
- Condensate drainage. Inspect the drain pan at 30 days. Any standing water means the drain is partially blocked.
- Utility bill comparison. If you upgraded from an older unit, upgrading from a SEER 10 to a SEER 16 system yields a 37% reduction in energy use. If your bills do not reflect improvement, something is off with system operation.
- Unusual sounds or smells. A rattle that appears after two weeks often points to a loose panel or refrigerant line vibrating against the cabinet. Document when it started and what operating mode triggered it.
Pro Tip: Set a phone reminder for day 30, day 60, and day 90 to do a five-minute walkthrough of the system. Check the filter, look at the drain pan, and note how the system sounds. You will catch problems that a once-a-year service call would miss.
Schedule a follow-up inspection between 60 and 90 days if anything feels off. Most manufacturers and quality HVAC contractors stand behind their work and will revisit the startup documentation if you report a concern with data to back it up.
Why proper startup matters more than homeowners think
In my experience working with residential HVAC systems, the gap between a properly commissioned system and one that just got powered on is enormous, and homeowners rarely know the difference until the bills arrive or something breaks.
I have seen systems that were installed perfectly from a mechanical standpoint but ran at 80% efficiency for three years because no one verified the refrigerant charge at startup. The homeowner assumed the elevated bills were just the cost of running AC in the summer. In reality, manufacturer startup requirements directly influence warranty validity, and without proof of proper startup, a compressor failure claim can be denied flat out.
What frustrates me most is how often the startup procedure gets treated as optional. The installer flips the breaker, the system cools, and everyone considers the job done. But a quick temperature split check and a refrigerant pressure reading would catch 80% of the problems I see on callback visits six months later.
My honest advice: whether you are doing this yourself or hiring a contractor, treat the hvac system startup process as a separate job from installation. Ask for documentation. Take your own temperature readings at the registers. If the installer resists or calls it unnecessary, that tells you something important about how they work. A good contractor welcomes verification because they know their work holds up to scrutiny.
— Edward
Let E320air handle your HVAC startup right
Getting the startup right is where long-term performance is either locked in or quietly lost. At E320air, our installation and commissioning process includes every measurement covered in this guide: airflow verification at each register, refrigerant charge confirmation by superheat and subcooling, condensate testing, and full documentation you can keep for your warranty file. We also handle permit coordination so you are covered from day one. If you have an existing system that was installed without a proper startup, we offer diagnostic visits to establish a verified baseline. Explore our HVAC installation services or browse our problem solving gallery to see how we approach real-world HVAC challenges. Contact E320air to schedule your startup or diagnostic visit today.
FAQ
What is the HVAC system startup process?
The HVAC system startup process is a structured verification procedure performed after installation, confirming that airflow, refrigerant charge, electrical connections, and safety controls all meet manufacturer and design specifications before the system runs unattended.
How long does an HVAC startup take?
A thorough startup procedure typically takes one to two hours, covering both heating and cooling modes, temperature split testing, condensate drainage verification, and documentation of all key readings.
Can I start my HVAC system myself?
Homeowners can perform basic startup checks like thermostat setup, register airflow observation, and condensate testing, but refrigerant pressure verification and combustion testing for gas systems require licensed technicians with proper equipment.
Why does refrigerant charge matter at startup?
Incorrect refrigerant charge wastes energy and shortens compressor life. Verifying charge by superheat or subcooling at startup is the only accurate method, and documented proof protects your warranty if a compressor fails later.
What should I monitor in the first 90 days after startup?
Focus on temperature consistency between rooms, monthly filter condition, condensate drainage, utility bill changes, and any unusual sounds or smells. Avoid making system adjustments during this period unless a specific problem is confirmed.