
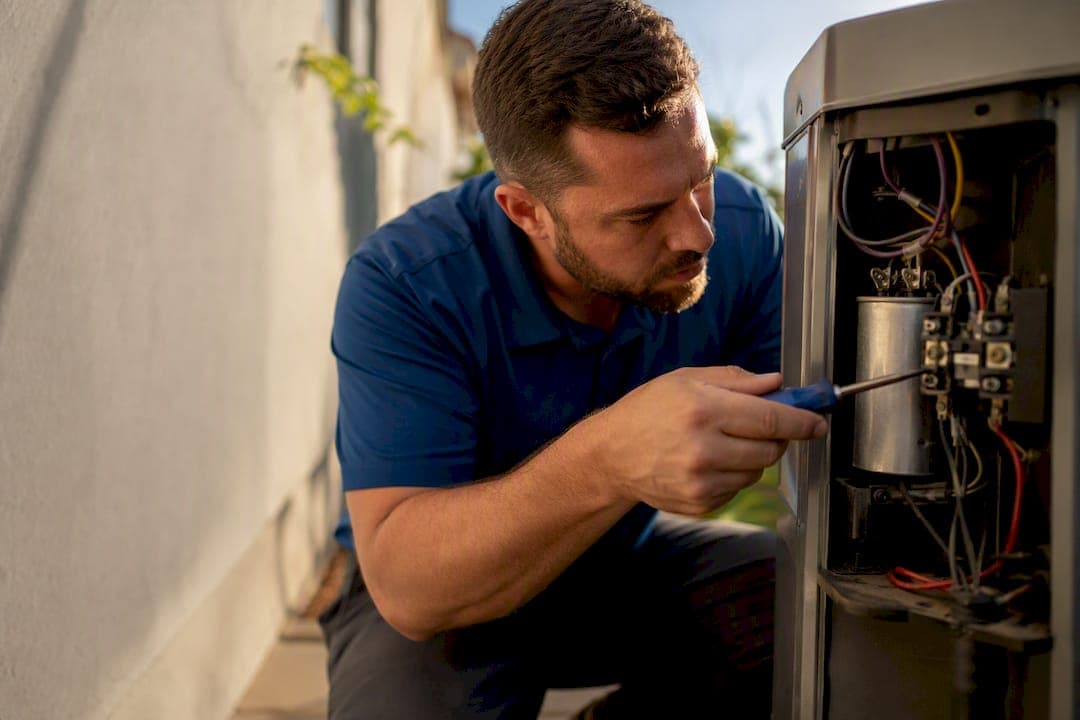
If your outdoor AC unit hums but the fan won't spin, the air blowing inside is warm, or the breaker keeps tripping, a failing capacitor is the most likely cause. Shut the system off at the thermostat or breaker if you notice burning smells or scorch marks, then call a technician. Most capacitor repairs are cheap and fast, but ignoring these signs risks compressor damage that costs far more to fix.
TL;DR:
- A failing start capacitor causes the compressor to hum but not start, with immediate risks of stressing and damaging the motor if ignored.
- Visible signs such as bulging, leakage, or scorch marks on the capacitor indicate urgent replacement, though many failures are invisible without testing.
- Capacitors degrade faster under high heat, electrical surges, and during frequent startup cycles, often failing prematurely due to aging or manufacturing defects.
- Testing a capacitor requires a technician to safely discharge and measure it against manufacturer tolerance, as visual inspection alone cannot confirm failure.
- Cost for replacing an AC capacitor ranges from $100 to $400, with early detection averting expensive compressor repairs and extending system lifespan.
Table of Contents
- What an AC capacitor is and why it matters
- Start, run, and dual capacitors: how failures differ
- Common AC capacitor failure symptoms and how urgent each one is
- Safe visual signs you can check from outside the unit
- Why capacitors fail in the first place
- How technicians test and confirm a failing capacitor
- When to call a technician and what replacement typically costs
- Preventive maintenance that reduces capacitor failures
- A technician's field notes on capacitor diagnosis
- Get a capacitor checked before it takes your compressor with it
- Sources
What an AC capacitor is and why it matters
Think of a capacitor as a tiny rechargeable battery built into your outdoor unit. It stores electrical energy and releases it in a fast burst, shifting the current's phase so a single-phase motor can actually start turning. Without that push, the motor just sits there and hums.
Most residential systems use two jobs split across capacitors: the start function gives the compressor motor the jolt it needs to overcome inertia, and the run function keeps voltage steady to the fan motor while it operates, which affects efficiency more than startup. When a capacitor weakens, the symptom usually maps directly to its job. Lose start capacitance and the compressor won't fire. Lose run capacitance and the fan spins weakly or the system runs hot and inefficient.
Start, run, and dual capacitors: how failures differ
HVAC systems typically use one of three setups: a start capacitor, a run capacitor, or a dual capacitor that combines both functions in one canister with three terminals.
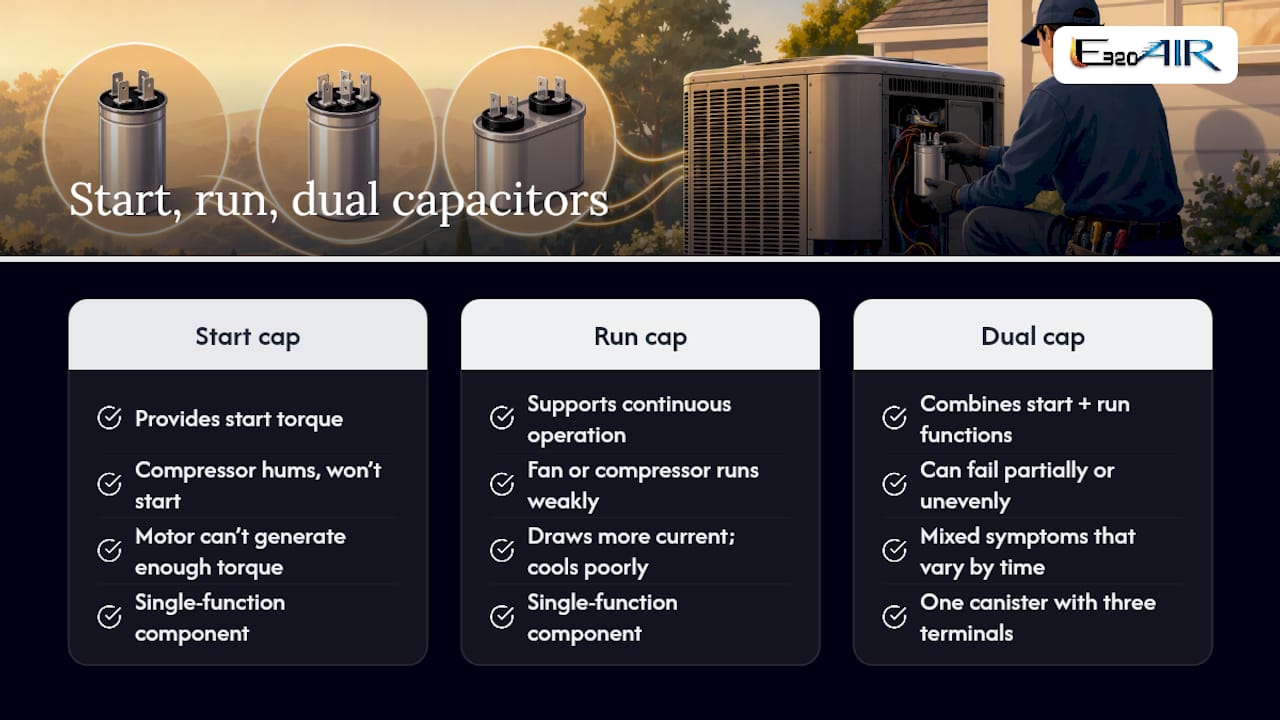
A failing start capacitor produces the textbook symptom homeowners report most: the compressor hums loudly but never actually starts turning, because the motor can't generate enough torque on its own. A failing run capacitor behaves differently. The fan or compressor may still run, just weakly, drawing more current than it should and cooling poorly over time. Dual capacitors, common in split systems, can fail partially, meaning the start side and run side degrade at different rates. That produces a confusing mix of symptoms, like a compressor that starts fine most mornings but struggles on the hottest afternoons when electrical demand peaks.
Knowing which type is in your unit helps you describe the problem accurately when you call for service.
Common AC capacitor failure symptoms and how urgent each one is
Here's where things get practical. Below is a prioritized rundown of ac capacitor failure symptoms, what's happening electrically, and how fast you should act.
- Compressor hums but won't start. This is the classic sign of a dead start capacitor. The motor draws locked rotor amps and just buzzes in place. A humming compressor that won't start is the single most reported symptom of start capacitor failure, and it's urgent. Running the unit in this state repeatedly stresses the windings.
- Outdoor fan won't spin or spins slowly. Usually points to a fan-side capacitor issue. The compressor might still run, but with poor airflow across the coil, cooling suffers and the compressor can overheat.
- AC takes longer than usual to start. A subtle one. Partial capacitance loss means the motor still gets enough of a push to start, just more slowly than it should. This often gets dismissed as normal aging when it's actually an early warning.
- Warm air from vents while the outdoor unit hums or runs. The compressor isn't engaging even though the system is drawing power. You'll hear the unit working outside, but the indoor air stays warm.
- Clicking, then the breaker trips repeatedly. This is excessive start current tripping the breaker as protection. Don't keep resetting it and trying again. Shut the system down and call for service.
- Short cycling or intermittent cooling. A marginal capacitor that's degraded just enough to fail under heat load will let the system start, run briefly, then shut off before finishing a cooling cycle. If this sounds like what you're dealing with, our breakdown of why AC systems short cycle covers the electrical causes in more depth.
- Humming, buzzing, or clicking at startup. These noises signal electrical stress even before a full failure. If your system is making new sounds it didn't make last summer, that's worth investigating before peak season arrives. Our guide to diagnosing AC noise walks through how to tell a capacitor issue apart from a mechanical one.
- Burning smell from the condenser. Treat this as urgent. Power down the unit and call for immediate service. A burning smell means something is actively overheating, and continuing to run the system risks a much bigger repair.
- Visible bulging, leaking, or scorch marks on the capacitor. This is a definitive physical failure. Do not power the unit back on.
Pro Tip: Write down when the symptom happens (cold morning versus hot afternoon) and whether it's consistent or intermittent. That detail alone can cut a technician's diagnostic time in half.
Weak or failed start capacitors force the motor to draw excessive current every time it attempts to start, and that repeated overdraw is what actually cooks a compressor. The capacitor itself is a cheap part. The compressor it protects is not, which is the real reason none of these symptoms should sit on your to-do list for more than a day or two.
Safe visual signs you can check from outside the unit
You don't need to open the electrical panel to spot most physical capacitor damage. Stand back, look at the outdoor unit, and check for these signs from a safe distance. If the panel cover is already off from a previous service visit, don't touch anything inside. Power off the unit at the breaker before anyone opens the access panel for a closer look.
What to look for:
- A bulging or swollen top on the cylindrical capacitor canister, where it should be flat.
- Oily residue or leakage around the base or terminals.
- A cracked or split housing.
- Burn marks or melted terminals near the wiring connections.
Here's the catch: many capacitors fail with no visible damage at all, so a clean-looking canister doesn't rule out failure. It just means you can't confirm it by eye alone. If you do see bulging, leakage, cracks, or scorch marks, stop using the system immediately and schedule service rather than waiting to see if it gets worse.
Why capacitors fail in the first place
Heat is the biggest enemy. Every rise in operating temperature shortens a capacitor's working life, and high ambient heat around a poorly ventilated condenser accelerates the internal electrolyte drying out, which is exactly what causes capacitance to drop below spec.
Age plays a role too. Frequent start and stop cycles, especially during heat waves when the thermostat calls for cooling constantly, put more wear on a capacitor than steady, moderate use. Voltage spikes and surges from grid fluctuations or lightning strikes can damage the internal dielectric layer in a single event. Ripple current, the constant small fluctuations in AC power, adds cumulative stress over years of normal operation. Occasionally, a capacitor fails early simply because of a manufacturing defect or mechanical stress introduced during installation. If your system has had recurring electrical issues, our guide to what causes AC breakdowns covers how these factors interact with other components.
How technicians test and confirm a failing capacitor
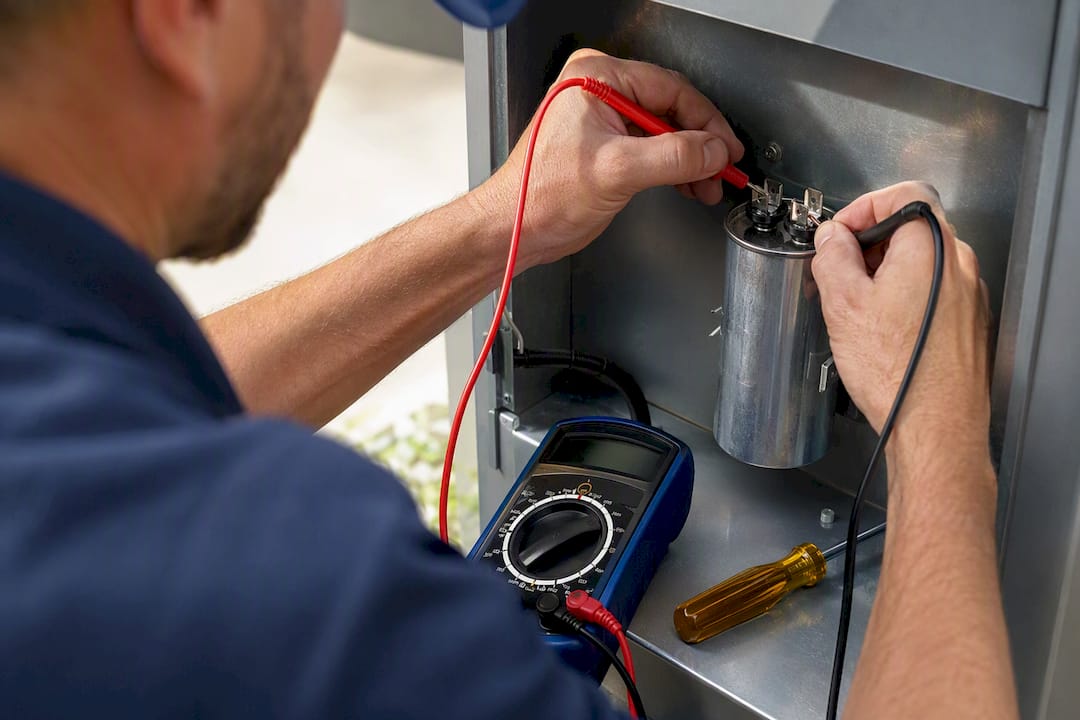
Testing a capacitor involves working near stored electrical charge, which is why this step belongs to a licensed technician rather than a homeowner with a multimeter. Even with the system powered off, a capacitor can hold a charge strong enough to cause a serious shock. Never touch the terminals yourself.
Here's what a technician actually does during a visit:
- Power down and lock out the unit at the breaker to eliminate live current.
- Discharge the capacitor safely using an insulated tool, since residual charge can remain even after power is cut.
- Measure capacitance in microfarads (µF) with a capacitance meter and compare the reading against the value printed on the label.
- Check the tolerance range. Acceptable readings generally fall within a certain tolerance range of the labeled µF value; anything outside that range means replacement.
- Check ESR (equivalent series resistance) when equipment allows, which can catch degradation a basic capacitance reading might miss.
- Match the replacement part to the original's µF rating and voltage rating exactly.
Pro Tip: Before the technician arrives, jot down a quick timeline: when the symptom started, whether it's constant or comes and goes, and any noises or smells you noticed. That handful of details often speeds up diagnosis more than anything else you could do.
A capacitor can look completely normal and still test well outside its safe range, which is exactly why a visual check is a good first pass but never a final answer.
When to call a technician and what replacement typically costs
Some symptoms mean stop and call now. Others give you a little more room to schedule around your week.
Call for same-day service if you notice:
- A burning smell coming from the outdoor unit.
- The breaker tripping more than once when you try to restart the system.
- Visible bulging, leaking, cracking, or scorch marks on the capacitor housing.
- The compressor humming continuously without starting.
Replacing an AC capacitor typically costs between $100 and $400 in parts and labor combined, with the range depending on your system's size, the capacitor's specifications, and local labor rates. That's a small price compared to a compressor replacement, which is often the most expensive single repair on a residential system. Catching a capacitor early is one of the more reliable ways to avoid that bigger bill entirely.
When you get a quote, ask the technician to confirm three things on paper: the exact capacitance (µF) and voltage rating of the replacement part, and whether the part carries a manufacturer warranty. For deeper issues beyond a simple swap, our homeowner's guide to HVAC repair services explains what a typical service visit involves from start to finish.
Preventive maintenance that reduces capacitor failures
A capacitor's lifespan generally runs several years under normal conditions, but heat and electrical stress can cut that short. A few habits stretch it further:
- Schedule an annual tune-up. Testing capacitance during routine maintenance catches early degradation before it turns into a no-cool emergency.
- Keep the condenser area clear of plants, debris, and stacked items that block airflow, without covering the unit in a way that traps heat.
- Consider whole-home surge protection if you live somewhere with frequent voltage spikes or an older electrical grid.
- Ask about proactive replacement if a technician is already working on your outdoor unit for another repair, since a capacitor nearing the end of its life is cheap insurance against a second service call.
Pro Tip: If your capacitor is more than five years old and you're already paying for a service call on the same unit, ask whether replacing it now makes sense. Doing two jobs in one visit usually costs less than two separate trips.
A technician's field notes on capacitor diagnosis
Homeowners almost always describe the symptom accurately but misjudge the cause. A hum they call "the compressor struggling" is usually a dead start capacitor, not a dying compressor. That distinction matters because swapping a capacitor takes minutes, while a compressor replacement takes hours and a much bigger check.
What actually saves equipment is speed. A tech who tests capacitance the moment they suspect a problem, rather than waiting to see if the system "works itself out," is the difference between a $200 fix and a system replacement. Before your appointment, note when the symptom started and whether it happens on every cycle or just under heavy load. That single detail often points straight to the failing part before the meter comes out.
— Edward
Get a capacitor checked before it takes your compressor with it
A professional HVAC contractor handles capacitor diagnosis and replacement the way it should be done: powered down, discharged safely, tested against manufacturer tolerance, and swapped with a part that matches your system's exact specifications.

On a typical service visit, a technician confirms the symptom you're seeing, tests the capacitor and related electrical components, and gives you a straightforward quote before any work starts. This isn't a job worth handling yourself. A capacitor can hold a dangerous charge even with the power off, and misreading a multimeter result can send you toward the wrong repair while the real problem keeps stressing your compressor. If you've noticed any of the symptoms covered above, schedule a diagnostic visit with E320air before a cheap fix turns into a compressor replacement.
Sources
The symptoms, cost figures, and testing steps in this guide come from a handful of trusted references. Specap's guide to start capacitor failure informed the visual inspection checklist and top symptom list. Bryant's capacitor replacement page provided the cost range and maintenance framing. Imperial AC Supply's troubleshooting guide shaped the testing and tolerance section, and Iriss's industrial capacitor failure analysis explains the heat, surge, and aging causes covered above.
- Start Capacitor Failure: 5 Visual Signs & How to Test (2026) | Specap, Inc.
- AC Capacitor Replacement: Signs, Costs & Repair Steps | Bryant
- Capacitor failure in industrial systems explained | Iriss
- AC capacitor troubleshooting guide · Imperial AC Supply