
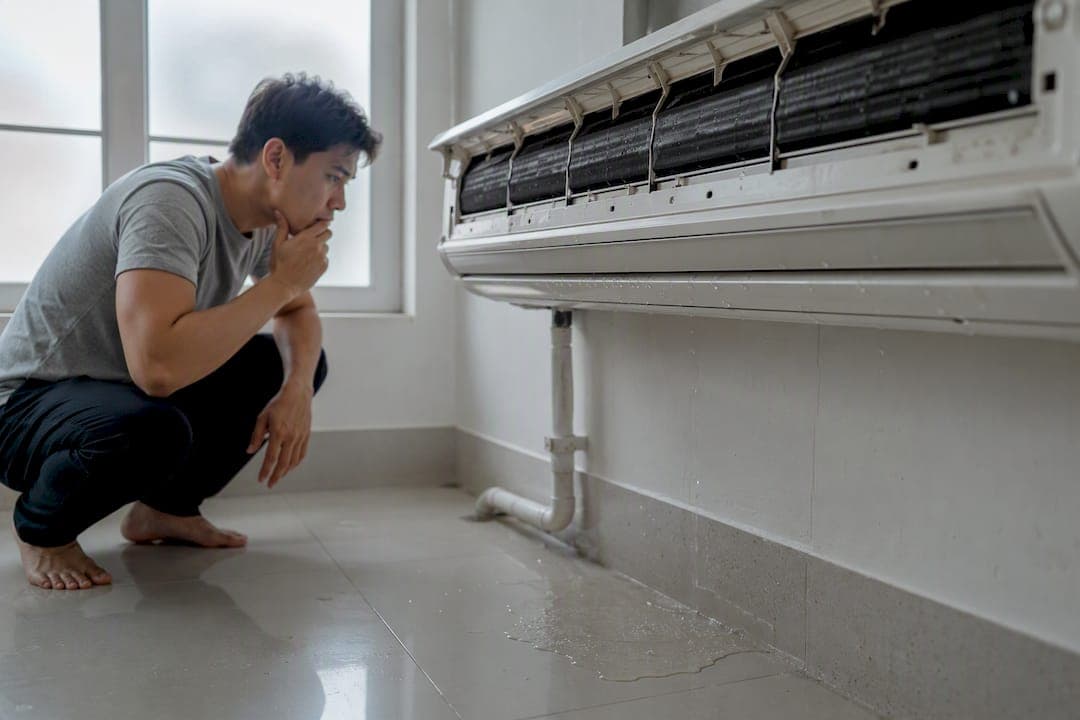
A clogged condensate drain line, a frozen evaporator coil, or a cracked drain pan cause most AC water leaks. Turn the system off at the thermostat and the breaker right now to stop more water from pooling and cut off any electrical risk. Then check the air filter and look at the drain pan. Many leaks stop right there. If ice is visible on the coils or you're not sure what you're looking at, that's your cue to call a licensed technician instead of guessing.
TL;DR:
- Most AC leaks are caused by clogged condensate drain lines, frozen coils, or damaged drain pans, which require different approaches to fix.
- Checking and clearing the drain line with a vacuum and vinegar often resolves the leak for homeowners, while ice melting indicates underlying airflow or refrigerant issues.
- Routine maintenance like changing filters, flushing the drain line, and scheduling annual tune-ups can prevent most condensate leaks.
- Symptoms like hissing sounds, sweet odors, or quick coil refreezing signal refrigerant leaks that need professional diagnosis and repairs.
- Calling a licensed technician is essential for complex problems such as refrigerant leaks, pan replacements, or significant drain line issues that DIY cannot safely handle.
Table of Contents
- Why Is My AC Leaking Water? The Real Causes
- How Do You Fix an AC Leak Yourself?
- How Often Should You Maintain Your AC to Prevent Leaks?
- When Should You Call an HVAC Technician Instead?
- Get Your AC Leak Fixed the Right Way
- Sources
Why Is My AC Leaking Water? The Real Causes
Where the water shows up and when it appears both tell you something. A puddle under the indoor unit that grows steadily points to one problem. A leak that only shows up hours after you shut the system off points to another. Here's how to match the symptom to the cause.
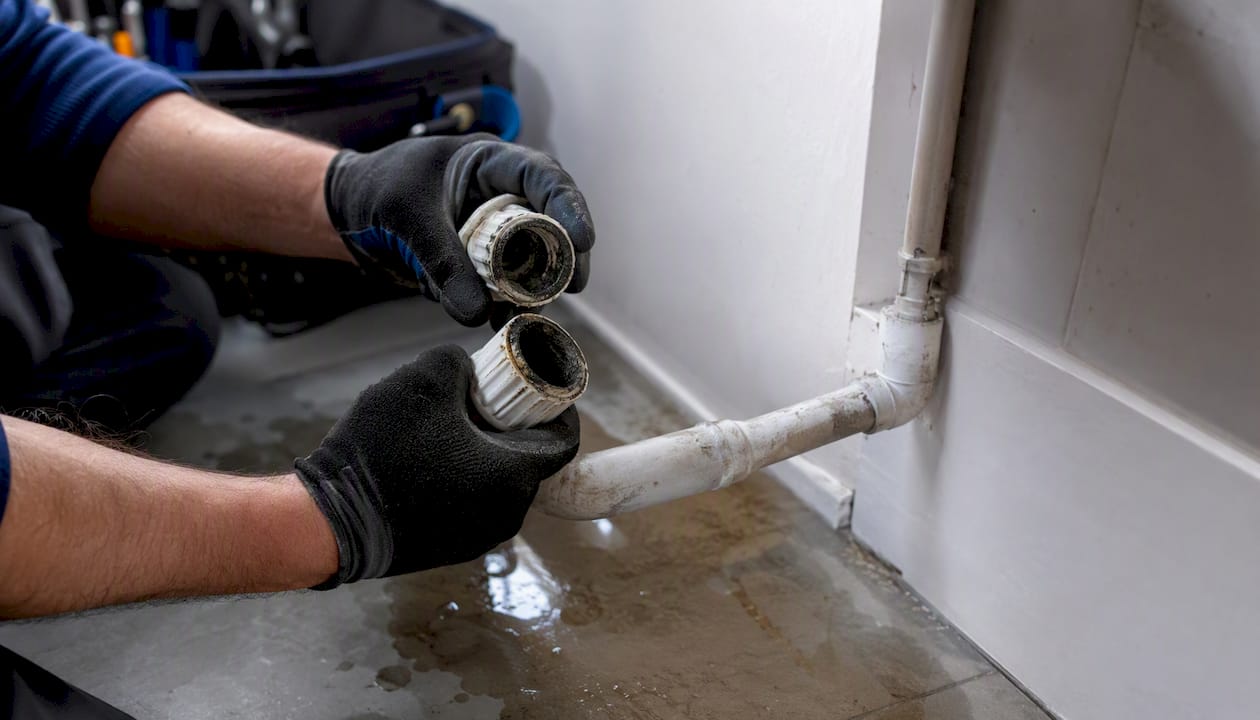
Clogged condensate drain line. Your AC pulls moisture out of the air, and that water is supposed to travel down a small PVC line to a drain outside. Over months of running, algae, mold, and dust build a slime layer inside that pipe. Eventually the line narrows enough that water backs up faster than it drains, and the overflow spills into the drain pan and out onto your floor. This is the single most common reason homeowners see water where it doesn't belong.
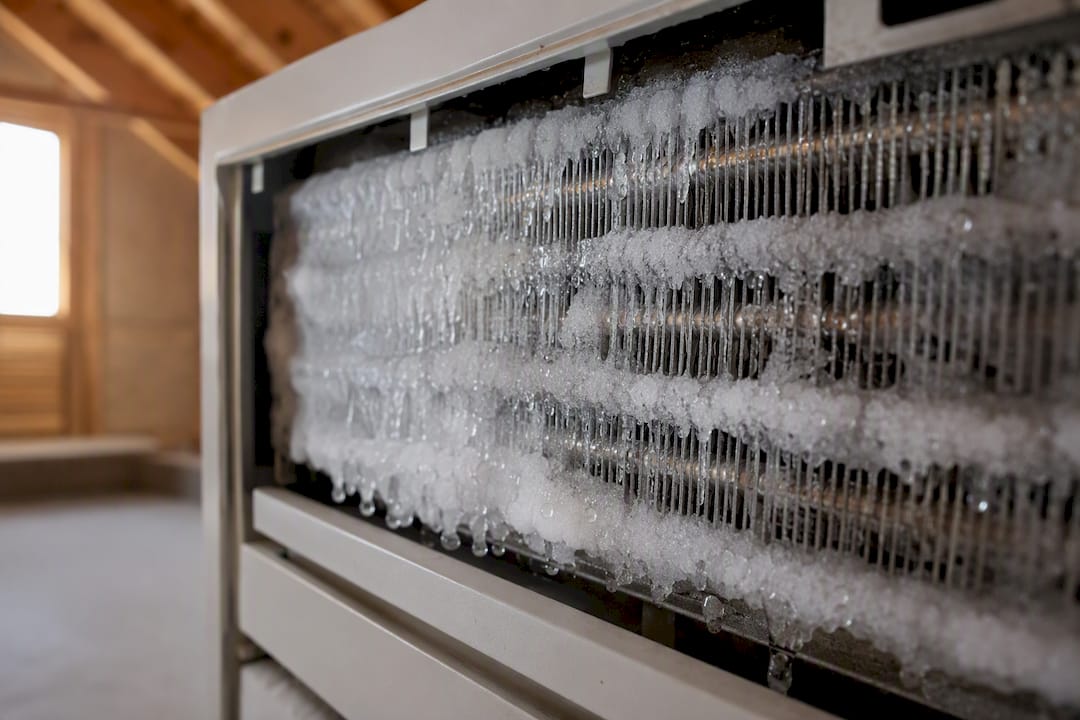
Frozen evaporator coil. If you pull off the access panel and see ice, something is choking airflow across the coil or the refrigerant charge is low. Once you shut the unit off, that ice melts, and it can melt faster than the drain pan and line can handle, flooding the area around the unit within an hour or two.
Dirty air filter. A filter clogged with dust and pet hair chokes airflow before it even reaches the coil, which is one of the most direct paths to a frozen coil. It's also the cheapest and fastest thing on this list to fix.
Damaged or rusted drain pan. Metal pans corrode with age, and even plastic pans crack from years of vibration and temperature swings. Once the pan itself has a hole, water drips straight through no matter how clean the drain line is.
Condensate pump failure. Basement and attic systems that can't drain by gravity rely on a small pump to push condensate outside. When that pump's float switch sticks or the motor burns out, water backs up and overflows right where the pump sits.
Installation issues. Window units and mini-splits need a slight outward tilt to drain properly, and Direct Energy notes that a unit installed dead level, or tilted the wrong way, will leak indoors no matter how well it otherwise runs. Missing insulation on refrigerant lines can also cause a second, separate leak from condensation forming on the cold copper itself.
How Do You Fix an AC Leak Yourself?
Work through this in order. Most homeowners solve the problem in steps one through three.
- Cut the power first. Switch the thermostat to "off," then flip the breaker for the AC at your electrical panel. Running a leaking unit risks more water damage and adds an electrical hazard you don't want near standing water. Never touch a wet unit while it's powered on.
- Pull the air filter and check it. Hold it up to a light. If you can't see light through it, replace it. This takes two minutes and costs $10 to $20, and it's the fix that prevents the most repeat leaks.
- Find the drain line and clear it. It's usually a white PVC pipe running from the indoor unit to an outside wall. Locate the cleanout tee (a capped vertical pipe near the unit), remove the cap, and run a wet/dry vacuum on the outdoor end to pull the clog free. Then flush the line with a cup of white vinegar to break down any remaining slime.
- Check the drain pan for cracks. Shine a flashlight into it. A hairline crack can sometimes be slowed with a bucket and towels as a stopgap, but a cracked pan needs professional replacement. Don't try to seal it yourself.
- Let ice thaw completely before restarting. Leave the system off for 12 to 24 hours with the fan set to "on" to speed airflow across the coil. Melting the ice doesn't fix why it froze in the first place.
- Restart and watch it for an hour. Turn the system back on and check the drain pan and the outdoor drain line exit every 15 minutes. Steady dripping outside is normal. Water anywhere else means the underlying problem is still there.
Pro Tip: Keep your phone handy during the restart test and film 15 seconds of the drain line outside. If you do end up calling a technician, that clip tells them exactly how much water is moving and where, which saves a diagnostic trip.
How Often Should You Maintain Your AC to Prevent Leaks?
A simple routine beats emergency repairs almost every time, and the maintenance itself costs a fraction of a drain pan replacement or a refrigerant recharge.
- Swap the air filter regularly to maintain good airflow and prevent freezing. A pleated filter in the MERV 8 to 11 range balances filtration with airflow better than the cheapest fiberglass options.
- Flush the condensate line regularly with white vinegar to help keep it clear of algae and buildup.
- Install an accessible cleanout tee if your line doesn't have one. It turns a wet/dry vacuum job into a five-minute task instead of a disassembly project, and it's a small upfront cost that pays for itself the first time you need it.
- Book a spring tune-up before cooling season starts. A technician checks refrigerant charge, coil condition, pan integrity, and pump operation in one visit, catching corrosion or wear before it turns into a leak.
- Confirm window and mini-split units still sit with the correct outward tilt, especially after any wall or frame work nearby.
Trane's own guidance backs this up directly: routine filter changes and annual tune-ups prevent most condensate leaks before they start, which is a far cheaper outcome than any repair on this list. Our homeowner's guide to preventing HVAC leaks walks through the full seasonal checklist if you want to build this into a recurring habit.
When Should You Call an HVAC Technician Instead?
Some symptoms are your cue to stop troubleshooting and pick up the phone. A hissing sound near the indoor unit, a faint sweet smell, or frost on the copper lines all point to a refrigerant leak, and that combination is both a safety issue and a performance issue that needs a licensed technician, not a DIY fix. The same goes for a coil that refreezes within a day or two of a fresh filter, a visibly cracked or rusted pan, water tracking into a wall or ceiling, or a condensate pump that trips a breaker when it runs.
A technician handles what you can't: pan replacement, refrigerant leak repair and recharge, re-leveling a tilted unit, swapping a failed condensate pump, or rerouting a drain line that was never sized right. Clearing a simple clog is often a modest service call. Pan replacement or refrigerant work runs higher, and your technician can give you an exact number once they've seen the unit, since parts and access vary a lot from one install to the next.
Before you call, jot down when the leak started, whether it's constant or only after the system cycles, and which DIY steps you already tried. A couple of photos of the pan and the drain line exit point speed up diagnosis considerably. Our guide to what to expect from HVAC repair service covers how a typical service visit unfolds, and if the coil keeps freezing even after a clean filter, this breakdown of frozen coil causes is worth reading before your appointment.
— Edward
Get Your AC Leak Fixed the Right Way
E320air handles exactly the scenarios covered above, from a five-minute drain flush to a full pan and refrigerant repair, without the guesswork of trying to diagnose it twice. What sets a service call apart from another round of DIY is simple: a technician finds the root cause in one visit instead of you chasing symptoms across three separate weekends.

If your AC is dripping right now and the DIY steps above didn't stop it, or you spotted a red flag like frost on the lines or a hissing sound, schedule a service call with E320air and get a technician out to diagnose it properly. For units where repair costs start rivaling the price of a new system, our HVAC installation services team can walk you through a straightforward replacement instead. Either way, the fastest path to a dry floor is getting someone who does this daily to look at it once.
Sources
- Why Is My AC Leaking Water? | Troubleshooting & Repair — Carrier
- How To Fix AC Water Leaks: Causes and DIY Fixes — Direct Energy
- AC Leaking Water — Trane