TL;DR:
- Proper HVAC installation in California requires adherence to Title 24 codes and regional standards.
- Using licensed contractors and following a detailed workflow prevents costly mistakes and ensures compliance.
- Post-installation maintenance and verification are crucial for long-term system performance and efficiency.
A rushed HVAC installation is one of the most expensive mistakes an Inland Empire homeowner can make. We've seen it play out too many times: a contractor skips the permit check, the system gets sized by guesswork, and the homeowner spends summers with uneven cooling and rising utility bills. California homes have specific energy codes, climate demands, and regional air quality requirements that make a structured workflow non-negotiable. This guide walks you through every phase of a residential HVAC installation, from regional planning and tool prep to testing and first-year maintenance, so you get it right the first time.
Table of Contents
- Understand the unique requirements for California HVAC installation
- Essential tools, materials, and workflow checklist
- Step-by-step HVAC installation process for California homeowners
- Testing, verification, and post-install best practices
- The biggest mistakes California homeowners make with HVAC installs
- Get expert HVAC installation in the Inland Empire
- Frequently asked questions
Key Takeaways
| Point | Details |
|---|---|
| Follow a proven workflow | A systematic installation plan ensures fewer delays and higher performance. |
| Meet California requirements | State codes and local climate features must guide every step of your HVAC project. |
| Prepare with the right tools | Having all parts and checklists on hand prevents last-minute issues. |
| Test and verify installations | Thorough post-installation checks ensure efficiency and compliance. |
| Expert help pays off | Involving qualified professionals leads to smoother, code-compliant results. |
Understand the unique requirements for California HVAC installation
Before anything gets installed, you need to understand what California actually requires. This isn't optional paperwork. It shapes which equipment you can use, how it gets sized, and which steps your contractor must follow.
California Title 24 and permits
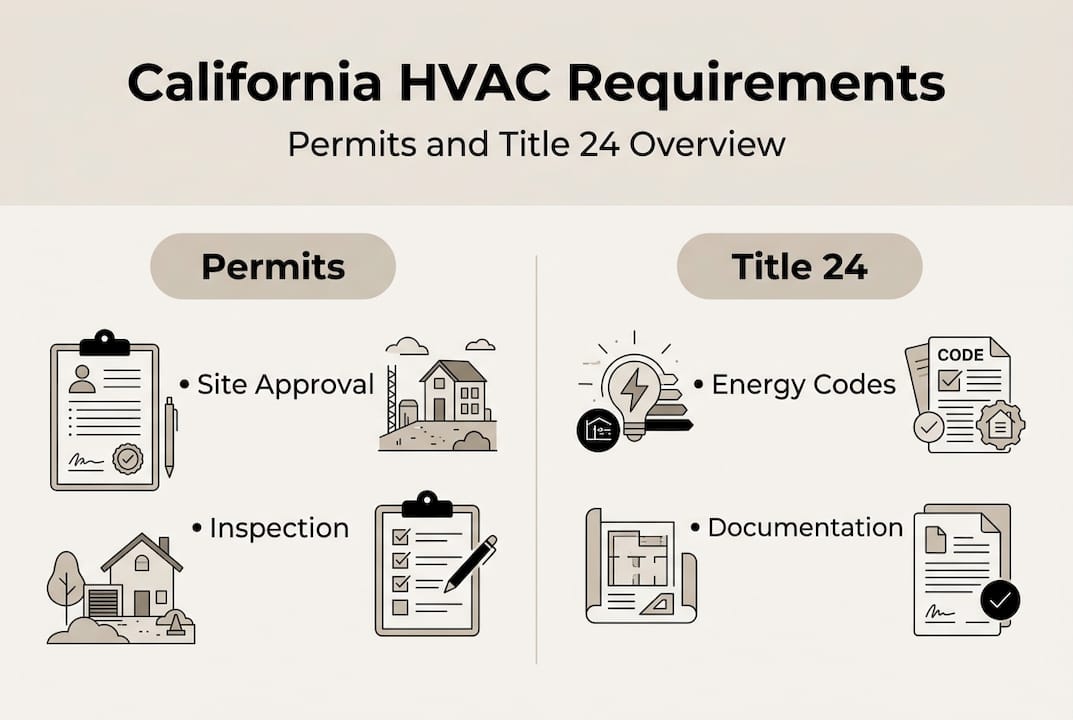
California's Title 24 codes impact system selection and installation steps from day one. Title 24 is California's building energy efficiency standard, and it dictates minimum SEER (Seasonal Energy Efficiency Ratio) ratings, duct insulation requirements, and thermostat capabilities. Every new installation in the Inland Empire must pass a Title 24 compliance check before the job is considered complete. Permits are required in virtually every jurisdiction, and skipping this step can cost you when it's time to sell your home or file an insurance claim.
Inland Empire climate considerations
Riverside County and San Bernardino County face some of the most intense residential cooling loads in the state. Summers regularly push past 105°F, and the region's air quality challenges mean your system's filtration and ventilation design matter just as much as raw cooling capacity. Reviewing your seasonal HVAC needs before installation helps your contractor plan for both peak cooling demand and those rare cold snaps in January.
Installer credentials
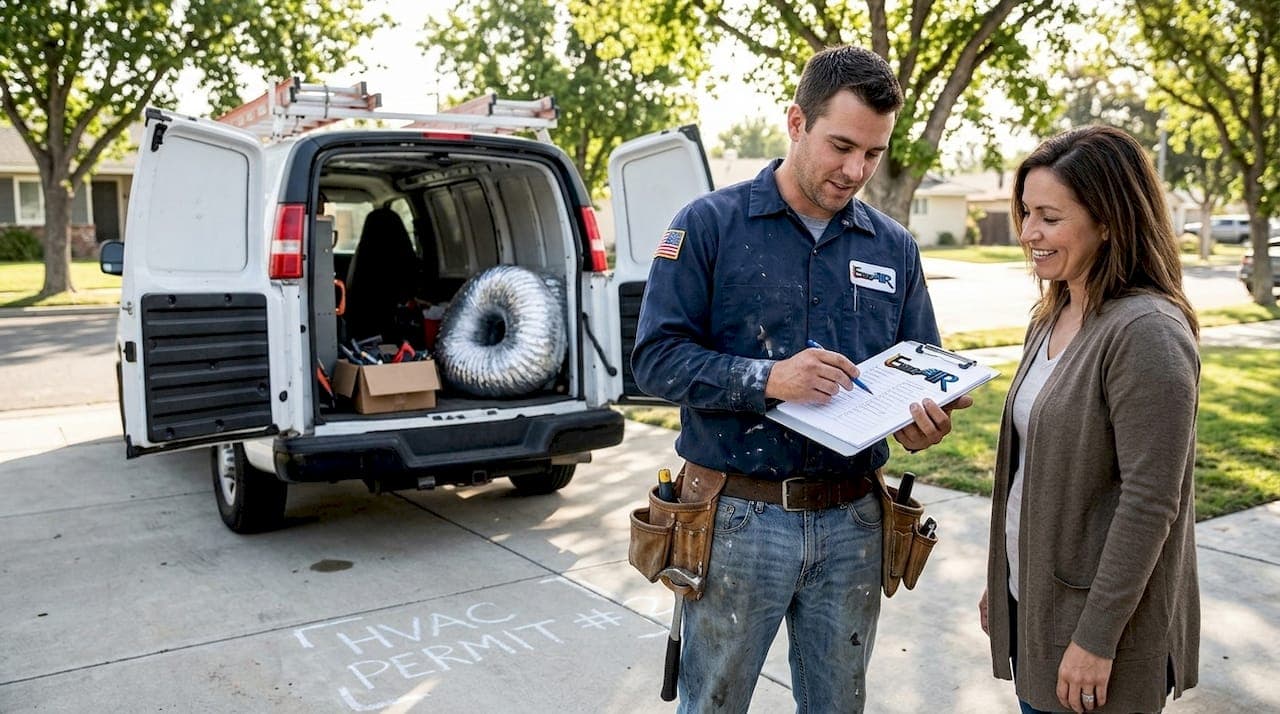
California requires HVAC contractors to hold a C-20 license issued by the Contractors State License Board. Always verify this before signing a contract. A licensed contractor carries the legal accountability to pull permits, perform compliant installations, and back their work.
Here's a quick-reference table for California HVAC compliance basics:
| Requirement | Detail |
|---|---|
| Minimum SEER rating | 15 SEER2 for split systems (2026) |
| Title 24 compliance | Required for all new installs |
| Permit requirement | Yes, county-level |
| Contractor license | C-20 required |
| Duct testing | Required in most new installs |
Key factors to confirm before installation begins:
- Zoning and permit requirements for your specific city
- Load calculation (Manual J) performed by your contractor
- Equipment compatibility with Title 24 standards
- Duct condition assessment
- Utility rebate eligibility for high-efficiency systems
Exploring your HVAC replacement options early can also reveal rebate programs that offset upfront costs.
Pro Tip: Schedule your installation before peak summer demand hits. Contractors book up fast in the Inland Empire between May and August, and rushing a job to beat the heat leads to corners being cut.
Essential tools, materials, and workflow checklist
Once you understand what the region requires, your next move is preparing the right tools and a foolproof workflow. A clear checklist is what separates a smooth install from a chaotic one.
A well-organized checklist streamlines installation and avoids missed steps that cause callbacks, failed inspections, or refrigerant leaks. Ask your contractor to walk you through their process before the job starts. A reputable installer won't mind sharing their workflow.
Core materials for a residential HVAC install
- Air handler or furnace (matched to the outdoor condenser)
- Outdoor condenser unit
- Refrigerant lines (pre-charged or field-charged, depending on system)
- Smart thermostat compatible with your system
- Duct connectors, flex duct, and mastic sealant
- Disconnect box and electrical wiring
- Concrete pad or mounting hardware for the condenser
- PPE for the installer (gloves, safety glasses, refrigerant recovery equipment)
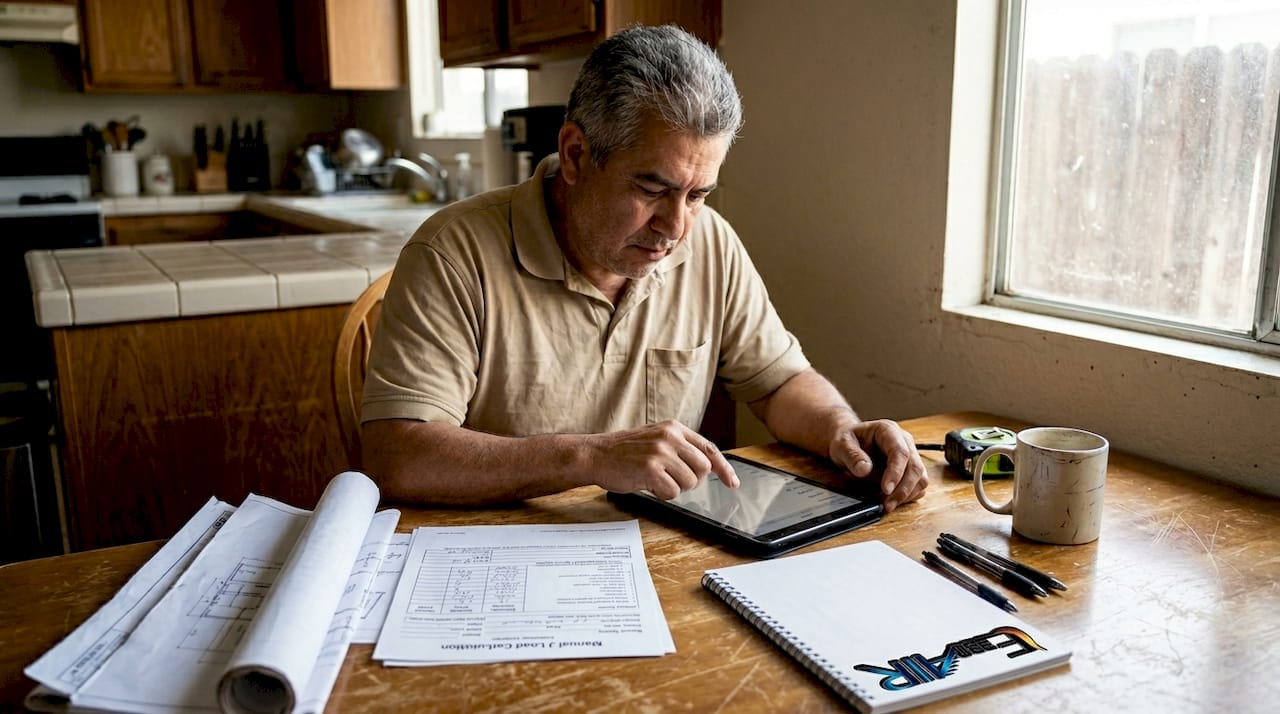
Proper HVAC sizing starts before a single piece of equipment arrives on site. The Manual J load calculation tells your contractor exactly what tonnage fits your home's square footage, insulation, window placement, and local climate data.
Workflow checklist table
| Phase | Key Tasks |
|---|---|
| Site preparation | Permit confirmed, old system tagged for removal, clearances checked |
| Staging | Equipment delivered, tools organized, wiring and refrigerant lines laid out |
| Installation | Equipment mounted, electrical connected, refrigerant lines run and charged |
| Testing | Airflow verified, thermostat programmed, refrigerant charge checked |
| Cleanup and sign-off | Old equipment removed, area cleared, inspection scheduled |
Pro Tip: Label every component and connection point before installation begins. It sounds basic, but a labeled system saves hours of troubleshooting if something doesn't work correctly during the first test cycle.
Step-by-step HVAC installation process for California homeowners
With your checklist in hand, you're ready to follow a proven stepwise installation process. Following a proven residential workflow avoids delays and costly failures that put your household comfort on hold.
- Confirm permits and job-site readiness. Verify that the permit is in hand and posted at the property. Confirm utilities are accessible and the work area is clear.
- Perform a final load calculation review. Before staging equipment, double-check that the selected system tonnage matches the Manual J results for your home.
- Remove the old system. Recover refrigerant from the existing unit following EPA Section 608 regulations. Disconnect electrical and remove old air handler, coil, and condenser.
- Prepare the installation area. Level and secure the outdoor condenser pad. Check that indoor air handler mounting is structurally sound and that duct connections are accessible.
- Install the air handler and coil. Mount the air handler in the attic, closet, or utility space. Connect to existing or new ductwork. Seal all joints with mastic.
- Run and connect refrigerant lines. Route copper lines between the air handler and condenser. Insulate properly to prevent energy loss and condensation.
- Complete electrical connections. Wire the disconnect box, connect the thermostat, and verify all circuits match the system's requirements.
- Install and program the smart thermostat. Configure schedules and Wi-Fi connectivity for remote monitoring.
- Pressure test and charge the system. Pressure test the refrigerant lines for leaks before charging. Add refrigerant to manufacturer spec.
- Run the system and perform quality checks. Measure supply and return air temperatures. Confirm static pressure is within acceptable range. Check for unusual sounds or vibrations.
Safety note: Refrigerant handling requires EPA Section 608 certification. Only a licensed technician should recover, handle, or charge refrigerant. Improper handling is both illegal and dangerous.
Check your detailed home AC workflow for region-specific tips that apply directly to Inland Empire homes, including attic installation considerations unique to our climate.
Testing, verification, and post-install best practices
Proper installation isn't finished until you test, verify, and know how to care for your new system. This phase is where many homeowners assume the job is done, but it's actually where long-term performance gets locked in or lost.
Contractor testing procedures
Your installer should measure refrigerant charge using superheat or subcooling methods, not just gauge pressure. Airflow at each register should be balanced against the system's designed CFM (cubic feet per minute). The smart thermostat should be tested in both heating and cooling modes. Any deviations from spec should be corrected before the installer leaves.
Title 24 and local sign-offs
Title 24 compliance and verification are required for new installations, and your contractor must submit documentation to the local building department. In some Inland Empire cities, a third-party HERS (Home Energy Rating System) rater must independently verify duct leakage and refrigerant charge. Do not skip this step. It protects your investment and keeps your permit legal.
Post-install homeowner actions for year one
- Replace the air filter within 30 days of installation, then every 1-3 months depending on filter type
- Register the equipment warranty with the manufacturer (usually within 60-90 days)
- Save all permit documents and inspection records
- Schedule a follow-up tune-up at the 6-month mark
- Monitor your utility bills for the first two billing cycles to confirm efficiency gains
- Check that all registers are open and unobstructed
DIY vs. pro post-install tasks
| Task | Homeowner | Pro technician |
|---|---|---|
| Filter replacement | Yes | No |
| Thermostat adjustments | Yes | No |
| Refrigerant charge check | No | Yes |
| Duct leak testing | No | Yes |
| Annual tune-up inspection | No | Yes |
| Electrical connection check | No | Yes |
Paying attention to HVAC and indoor air quality during the first year is especially important for Inland Empire homes, where dust and wildfire smoke can tax your system's filtration faster than expected.
The biggest mistakes California homeowners make with HVAC installs
Most homeowners focus on the equipment. They spend hours comparing brand names, SEER ratings, and warranty lengths. That research matters, but it misses the bigger risk. The truth is that a mid-tier system installed correctly will outperform a premium system installed carelessly every single time.
Improper sizing and skipped verification are more damaging than most buyers realize. An oversized system short-cycles, creating humidity problems and premature wear. An undersized one runs constantly and never achieves comfort. Neither outcome is fixed by swapping equipment. The fix starts with the importance of HVAC sizing being treated as the first non-negotiable step.
Ignoring the permit and inspection process is the second major mistake. Homeowners sometimes let contractors skip permits to save time or money upfront. That shortcut becomes a liability when selling the home or filing an insurance claim after storm damage.
Pro Tip: Before signing any installation contract, ask your contractor to show you the Manual J load calculation. If they can't produce one, walk away.
Get expert HVAC installation in the Inland Empire
If you've read this far, you now know more about HVAC installation workflows than most homeowners ever will. Putting that knowledge to work starts with choosing a contractor who follows the same structured process you've just studied.

At E320 Air, we handle professional HVAC installation from permit to final sign-off, using the exact workflow steps outlined in this guide. You can browse our installation case studies to see real Inland Empire projects and how we approach each one. Whether you need a full system replacement or a new installation from scratch, learn more about E320 Air and connect with our team to schedule a site assessment. We serve homeowners across Riverside and San Bernardino counties.
Frequently asked questions
How long does a typical HVAC installation take in California homes?
Most residential HVAC installations in California take 1-2 days, depending on system type, home size, and required permits. Timeline and complexity vary based on local requirements and whether ductwork modifications are needed.
Do I need special permits for a new HVAC system installation in California?
Yes, almost all new HVAC installations require permits and Title 24 compliance verification. Permits and code compliance are mandatory and protect your investment legally and financially.
What makes California HVAC installations different from other states?
California requires strict energy efficiency and air quality standards that shape system choices, sizing, and every step of the workflow. California's rules go further than most states on equipment efficiency and third-party verification.
What maintenance should homeowners do after installation?
Homeowners should change filters regularly, schedule annual tune-ups, and monitor system performance for early signs of trouble. Post-install care is essential for keeping your new system performing at peak efficiency through its full service life.