

TL;DR:
- Balancing home airflow involves adjusting filters, dampers, and return paths to create even temperatures and improve indoor air quality. If temperature differences persist after DIY efforts, a professional inspection is needed to check for duct leaks or inadequate duct sizing. Regular maintenance, such as filter replacement and vent cleaning, helps sustain optimal airflow and indoor comfort.
Balancing home airflow workflow is the systematic process of adjusting how air moves through your house to achieve consistent temperatures, lower energy bills, and healthier indoor air. The EPA sets a minimum ventilation standard of 0.35 air changes per hour or 15 cfm per person to maintain acceptable indoor air quality. That standard exists because most comfort complaints, from stuffy bedrooms to uneven heating, trace back to airflow problems rather than equipment failures. The good news is that a structured approach, starting with filters and vents before calling a professional, solves most issues without major expense.
What tools and preparations do you need before balancing home airflow?
The right tools make the difference between guessing and knowing. Before you touch a single vent, gather an anemometer (a handheld airflow meter), a digital thermometer, a hygrometer for humidity readings, a screwdriver, and an adjustable wrench. These five items cover nearly every DIY airflow task.
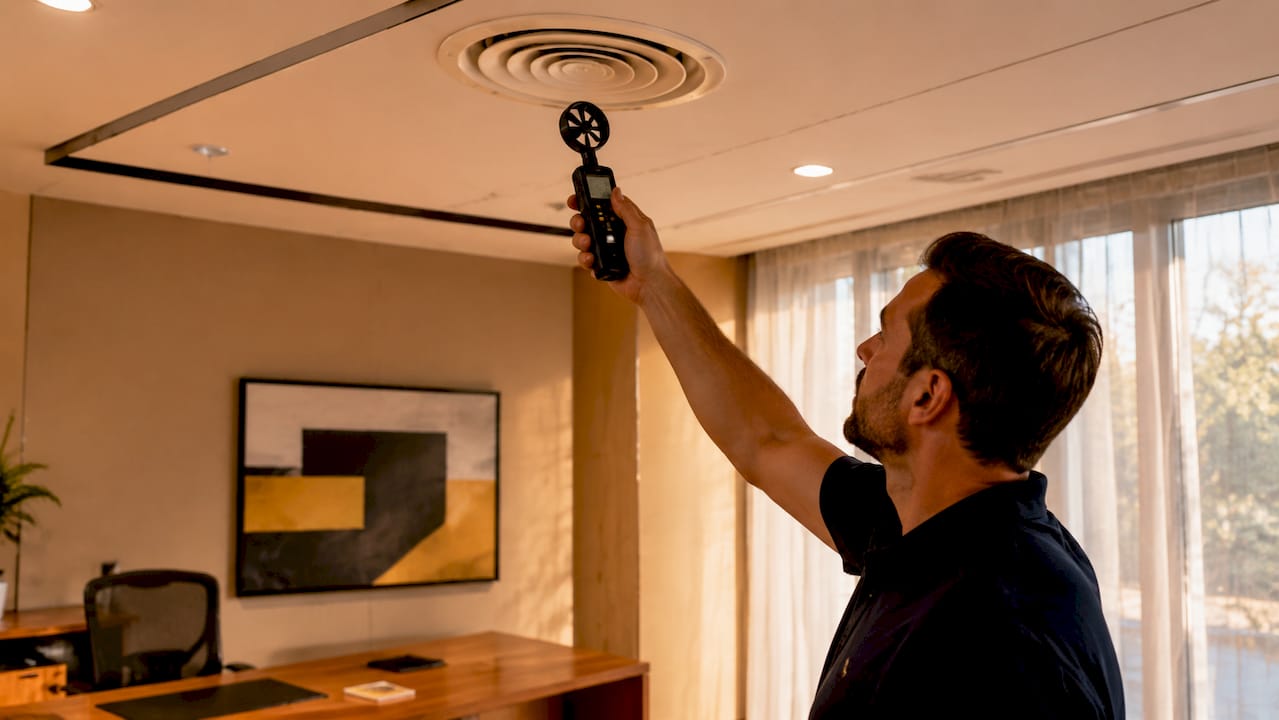
Run a preliminary inspection before you start adjusting anything. Walk every room and check that supply registers are open and unobstructed by furniture or rugs. Confirm that return air grilles are clear. Look for closed interior doors that block air from moving freely between rooms. Check that your air filter is not visibly clogged.
Set your thermostat to a stable temperature and run the system for at least 30 minutes before taking any measurements. Readings taken on a cold start are unreliable. You want the system in steady state so you can see where air is actually going.
| Tool | Purpose |
|---|---|
| Anemometer | Measures airflow volume at each register |
| Digital thermometer | Identifies temperature differences between rooms |
| Hygrometer | Tracks humidity levels that affect comfort |
| Screwdriver | Opens and adjusts register louvers |
| Adjustable wrench | Accesses manual dampers on duct branches |
Pro Tip: If you don't own an anemometer, a tissue held near a register gives a rough sense of airflow strength. Weak flutter means restricted flow; strong deflection means good delivery.
Efficient air circulation depends on understanding two vent types: supply vents push conditioned air into rooms, and return vents pull air back to the system. Every room needs both pathways to work. Blocking either one creates pressure imbalances that no amount of thermostat adjustment will fix.
How do you perform the step-by-step process of balancing home airflow yourself?
A dirty air filter is the single most common cause of weak airflow. Replace it first, before anything else. A clogged filter starves the blower of air and creates uneven pressure across the entire duct system.
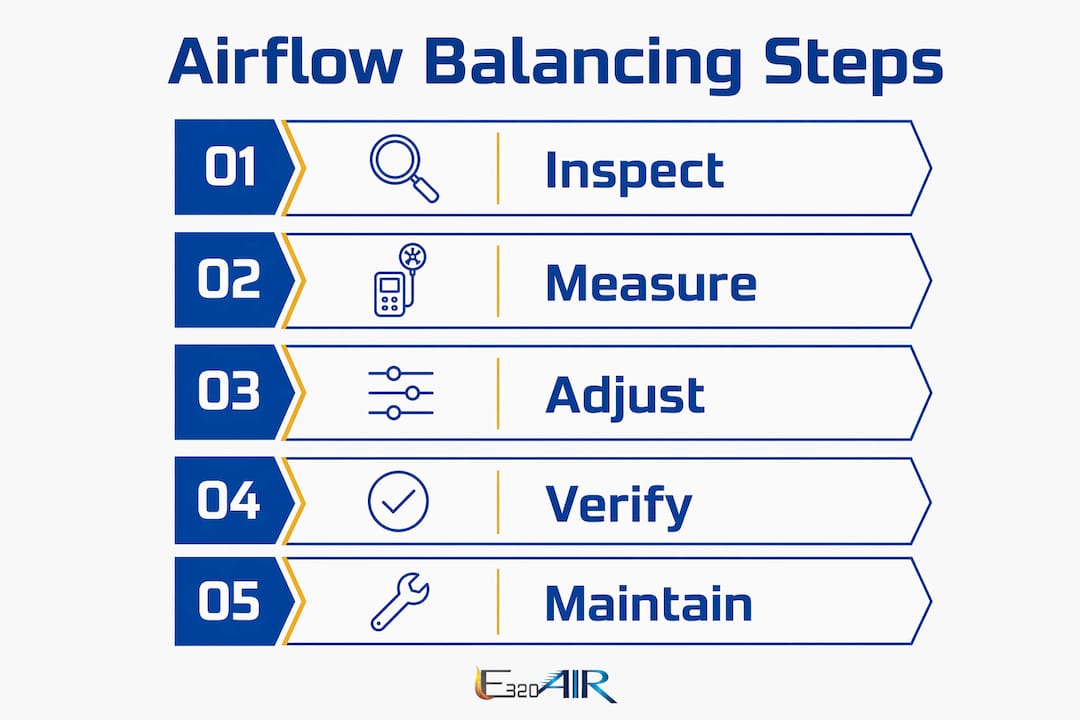
Follow these steps in order for the most reliable results:
- Replace the air filter. Use the manufacturer's recommended MERV rating. A filter that is too restrictive cuts airflow just as badly as a dirty one.
- Open all supply registers fully. Walk every room and confirm louvers are open. Partially closed registers are a common culprit in uneven rooms.
- Clear return air grilles. Remove any furniture, curtains, or storage blocking return grilles. Unblocked return air paths improve comfort more reliably than adding supply air.
- Open interior doors. Air needs a path back to the return. Closed doors trap supply air and create positive pressure in rooms, which pushes conditioned air out through gaps rather than back through the system.
- Identify the problem rooms. Use your thermometer to record temperatures in every room. Note which rooms run more than 2°F warmer or cooler than your thermostat setting.
- Locate manual dampers. These are lever controls on duct branches near the air handler, not the register louvers in the floor or ceiling. Dampers are the correct tool for redirecting airflow.
- Adjust dampers in small increments. Move each damper no more than 10–15% at a time. Wait 2–3 hours after each adjustment before measuring again.
- Redirect air toward problem rooms. Partially close dampers on branches serving comfortable rooms to push more air toward rooms that need it.
- Recheck temperatures. After 24 hours, re-measure every room. Repeat small adjustments until temperatures even out.
Pro Tip: Never close more than 20% of your registers at once. Closing too many vents raises duct static pressure, strains the blower motor, and can cause duct leaks. Adjust dampers near the trunk lines instead.
The tissue test works as a quick check: hold a single tissue two inches from a supply register. Strong, steady deflection means good flow. Barely any movement points to a restriction upstream, either a damper closed too far, a blocked duct, or a filter issue.
| DIY fix | Professional service |
|---|---|
| Replace air filter | Duct leakage test with duct blaster |
| Open registers and return grilles | Flow hood measurement at each register |
| Adjust manual dampers | Manual J/D load calculation |
| Open interior doors | Duct sealing with mastic or aerosol |
| Tissue or thermometer check | Zoning system installation |
Call a professional when two weeks of DIY adjustments have not resolved the problem. Persistent issues point to duct leaks or undersized ductwork that no register adjustment will fix.
When and why should you involve professionals for airflow balancing?
A temperature difference of 3°F–5°F between rooms that persists after two weeks of DIY fixes is the clearest sign that professional service is needed. At that point, the problem is almost certainly inside the duct system, not at the registers.
Signs that DIY balancing was not enough:
- One or more rooms remain noticeably warmer or cooler despite damper adjustments
- You hear whistling or rushing sounds from ducts, which signals high static pressure
- Your energy bills increased after you started adjusting vents
- Rooms feel stuffy even with registers fully open
- Visible gaps, disconnected joints, or debris around duct connections
A professional diagnostic visit typically costs $80–$200. The technician uses a flow hood to measure actual airflow at each register and a manometer to check duct static pressure. A duct blaster test identifies leaks by pressurizing the duct system and measuring air loss. Most homes lose 20–30% of conditioned air through duct leaks. That loss explains why some rooms never reach the right temperature no matter how you adjust the registers.
Duct sealing with mastic compound or aerosol injection costs $300–$1,500 depending on home size and duct accessibility. Advanced balancing that includes Manual J/D load calculations identifies undersized duct branches and guides zoning installations. Zoning systems, which independently control airflow by area, run $2,000–$5,000 or more. They are the right solution for multi-story homes or houses with rooms that consistently run out of range.
Pro Tip: Before booking a contractor, ask specifically whether they perform duct leakage testing and flow hood measurements. A contractor who only adjusts registers is not performing a true air balance. Look for technicians certified through NATE or ACCA.
Check the signs of leaking air ducts before your appointment so you can describe symptoms accurately. A prepared homeowner gets a faster, more targeted diagnosis.
How do you maintain balanced airflow and improve indoor air quality over time?
Balanced airflow is not a one-time fix. It requires consistent maintenance to stay effective. Build these habits into your home care routine:
- Change filters on schedule. Replace standard filters every 30 days. High-MERV filters may need replacement every 60–90 days depending on household conditions.
- Clean supply registers and return grilles every 3 months. Dust buildup restricts airflow and degrades indoor air quality over time.
- Run exhaust fans during cooking and bathing. Moisture from these activities raises humidity, which makes rooms feel warmer and can promote mold growth in ducts.
- Monitor room temperatures monthly. A quick walkthrough with a thermometer catches developing imbalances before they become serious.
- Ventilate briefly in winter. Opening windows for 3–10 minutes, 2–4 times daily exchanges stale indoor air without significant heat loss. Use cross-ventilation by opening windows on opposite sides of the house.
Cross-ventilation can cut cooling costs significantly in dry climates, but it requires climate awareness. In humid regions, cross-ventilation combined with mechanical dehumidification prevents moisture problems that worsen air quality. Running cross-ventilation alone in a humid climate can introduce more moisture than your system can handle.
Avoid closing interior doors in rooms without dedicated return grilles. Closed doors with no return path create positive pressure that forces conditioned air out through wall gaps and attic bypasses. That air loss shows up directly on your energy bill.
Pro Tip: Schedule a professional HVAC inspection every fall before heating season and every spring before cooling season. Catching a developing duct leak or blower issue early costs far less than emergency repairs mid-summer.
For homes in Southern California or similar climates, ventilation strategies tailored to the region make a measurable difference in both comfort and energy use. Climate-specific approaches account for humidity swings, wildfire smoke events, and seasonal temperature extremes that generic advice ignores.
Key Takeaways
Balanced home airflow requires managing filters, dampers, and return air paths together, not adjusting registers alone.
| Point | Details |
|---|---|
| Start with the filter | A dirty filter is the top cause of weak airflow; replace it before any other adjustment. |
| Use dampers, not registers | Adjust manual dampers near trunk lines in 10–15% increments rather than closing room registers. |
| Return air paths matter | Unblocked return grilles and open interior doors improve comfort more than adding supply air. |
| Know when to call a pro | Persistent 3°F–5°F room differences after two weeks of DIY fixes signal duct leaks needing professional testing. |
| Maintain on a schedule | Monthly filter changes, quarterly vent cleaning, and twice-yearly HVAC inspections keep airflow balanced long-term. |
What I've learned from years of airflow calls
The most common mistake I see homeowners make is treating airflow balancing as a supply-side problem only. They open this register, close that one, and wonder why nothing changes. The real issue is almost always the return side. A room with a blocked return grille or a closed door and no undercut gap will never feel right, no matter how much supply air you push into it.
The second thing I've learned is that patience matters more than precision on the first pass. Homeowners want to adjust a damper and feel a difference in an hour. That's not how duct systems work. Air pressure changes propagate slowly through a house, and temperature changes follow even more slowly. The 10–15% increment rule exists for a reason. Aggressive adjustments create new problems faster than they solve old ones.
I also think the industry undersells the value of understanding your ductwork before touching anything. A homeowner who knows where their trunk lines run and where the manual dampers are located can do in one afternoon what takes a novice a week of trial and error.
Finally, airflow balancing works best as part of a broader comfort strategy. Solar shading on west-facing windows, proper attic insulation, and HVAC zoning all reduce the load that airflow balancing has to carry. A well-balanced system in a poorly insulated house will still struggle in July. Address the whole picture, and the results last.
— Edward
E320air can help when DIY airflow balancing reaches its limits
Sometimes the problem runs deeper than filters and dampers. E320air specializes in professional airflow diagnostics, duct sealing, and full system balancing for homeowners who want lasting results, not temporary fixes.

The E320air team uses flow hood measurements, duct blaster testing, and load calculations to find exactly where your system is losing efficiency. Whether you need a targeted duct seal or a complete HVAC installation to replace an undersized system, E320air delivers solutions built around your home's specific layout and climate. Diagnostic visits start at $80. Explore the full range of services at E320air and get your home's airflow working the way it should.
FAQ
What is the balancing home airflow workflow?
Balancing home airflow workflow is the step-by-step process of adjusting filters, dampers, registers, and return air paths to achieve even temperatures and consistent air quality throughout a home.
How do I know if my home's airflow is unbalanced?
Rooms that stay 3°F–5°F warmer or cooler than your thermostat setting, stuffy spaces with open registers, or rising energy bills all point to an airflow imbalance.
Can closing vents in unused rooms save energy?
Closing registers raises duct static pressure and strains the blower motor, which reduces efficiency rather than saving energy. Use manual dampers near trunk lines instead.
When should I call a professional for airflow balancing?
Call a professional if temperature differences between rooms persist after two weeks of DIY adjustments. A duct blaster test will identify leaks that register adjustments cannot fix.
How often should I change my air filter to maintain good airflow?
Replace standard filters every 30 days. A dirty filter is the leading cause of restricted airflow and uneven air distribution throughout the home.