
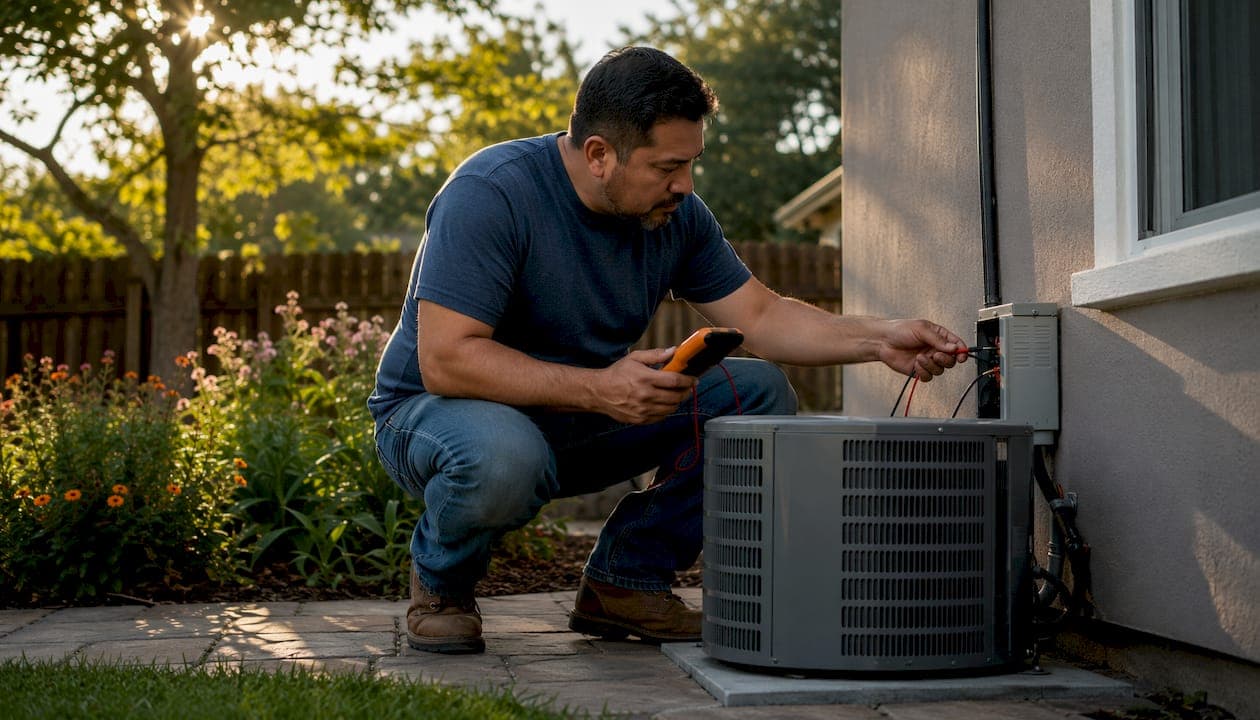
Follow these six steps to winterize your HVAC system and outdoor AC unit before the first freeze: shut off power to the condenser, clean the outdoor unit, insulate refrigerant and condensate lines, decide on a cover approach, run through your indoor heating checklist, and seal ducts and air leaks. Most of this takes a short amount of time and costs minimal materials. A seasonal tune-up from a licensed technician runs $80–$250 and catches what DIY checks miss.
Quick winterization checklist:
- Turn off power at the outdoor disconnect box and breaker
- Clear debris and gently rinse the condenser fins
- Insulate exposed refrigerant lines with slit foam pipe covers, which cost $5–$15 in materials.
- Choose the right cover approach for your climate
- Replace indoor air filter (MERV 8–13), test thermostat in heat mode
- Seal accessible duct leaks and air gaps around windows and doors. Sealing accessible duct seams can reduce distribution losses by 20–30%.
Safety boundary: If you see corroded wiring, a burned disconnect box, or oily residue on refrigerant lines, stop and call a licensed HVAC technician. Do not attempt electrical or refrigerant repairs yourself.
Table of Contents
- How do you safely turn off power to the outdoor condenser?
- How do you clean the outdoor condenser before winter?
- How do you insulate refrigerant lines and protect condensate drains?
- Should you cover the outdoor AC unit for winter?
- What indoor HVAC tasks should you do before winter?
- How does duct sealing reduce your heating costs this winter?
- When should you call a licensed HVAC technician?
- Why E320air's field experience backs this guide
- Are your carbon monoxide detectors ready for heating season?
- How do cracks and gaps in your home hurt HVAC efficiency in winter?
- Key Takeaways
- What most homeowners get wrong about winterizing HVAC
- E320air's seasonal winterization service
- Useful sources and further reading
How do you safely turn off power to the outdoor condenser?
Power off first, every time. The outdoor condenser must be fully de-energized before you touch it, clean it, or cover it. An unexpected warm day in November can trigger the unit to start if power is still live, which can damage a dry or debris-clogged compressor.
Step-by-step:
- Locate the outdoor disconnect box mounted on the wall near the unit. It is usually a gray or beige metal box with a pull-out fuse block or a toggle switch.
- Pull out the fuse block or flip the switch to the OFF position.
- Go inside and turn off the corresponding breaker in your electrical panel. Label it "AC outdoor — winter off" with a piece of tape so no one flips it back on accidentally.
- Wait five minutes before touching the unit. Capacitors hold a charge briefly after power is cut.
Red flags that require a licensed electrician or HVAC tech: corroded disconnects or exposed wiring are high-risk indicators. If the disconnect box shows rust, burn marks, or frayed insulation on any wire, photograph it and call a pro. Do not attempt to pull the fuse block yourself.
Pro Tip: Take a photo of the disconnect box label and breaker panel before you close everything up. That photo speeds up diagnosis if a tech needs to service the unit in spring.
How do you clean the outdoor condenser before winter?
A clean condenser goes into winter in far better shape than one packed with leaves and grass clippings. Trapped organic debris holds moisture against the fins and accelerates rust.
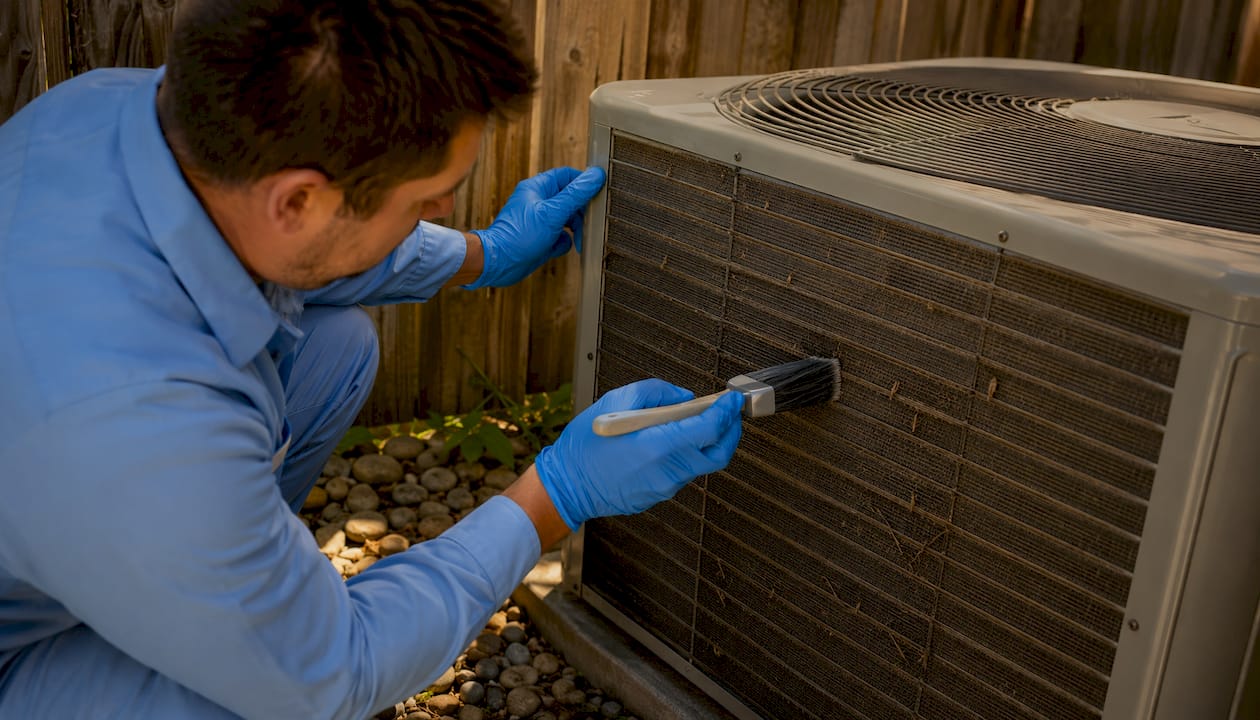
What you need: garden hose, soft brush or gloves, putty knife (for compacted debris at the base), and about 20 minutes.
Cleaning sequence:
- Clear a two-foot perimeter around the unit. Trim back any shrubs.
- Remove loose leaves and debris from the top grille and around the base by hand.
- Using a garden hose on a gentle setting, spray the fins from the inside out to push debris outward. Never use a pressure washer — the force bends aluminum fins and forces water into electrical components.
- Let the unit dry for at least two hours before covering.
During cleaning, inspect for: cracked side panels, frayed wires, oily or sticky residue on the refrigerant lines, and bent fins covering more than a small section. Any of those findings means a technician should look at the unit before spring startup.
Pro Tip: Bent fins reduce airflow and efficiency. A fin comb (under $10 at most hardware stores) straightens minor bends safely. Widespread fin damage is a job for a tech.
How do you insulate refrigerant lines and protect condensate drains?
Exposed refrigerant lines running along an exterior wall are vulnerable to freeze damage and UV degradation. Insulating them with slit foam pipe covers costs $5–$15 in materials and takes about 15 minutes.
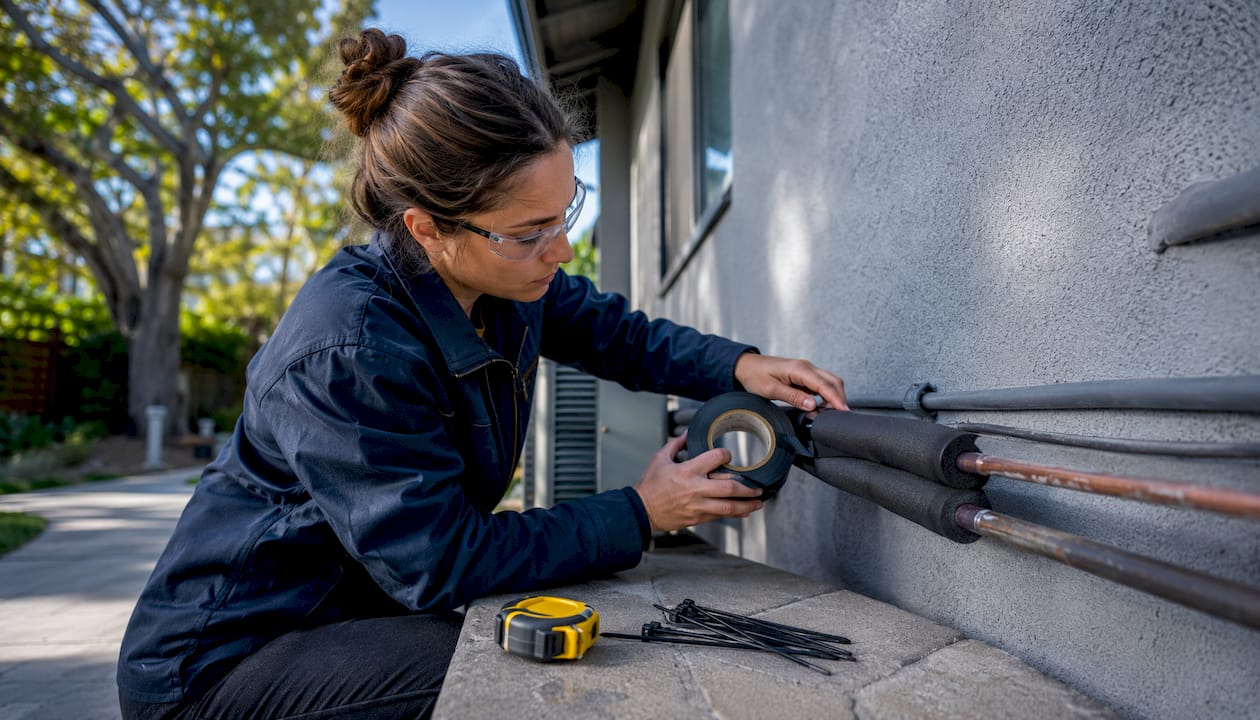
Materials: slit tubular foam insulation (sized to match your line diameter), weatherproof HVAC tape, and zip ties for longer runs.
How to fit it: Measure each exposed section, cut the foam to length, press it over the line, and seal the slit with weatherproof tape. Insulation must be continuous where lines pass through exterior walls or sit in direct sun. Small gaps at fittings are acceptable as long as you tape them closed.
Condensate drain line: The indoor air handler produces condensate even during heating cycles in humid climates. Clear the drain line with a wet/dry vacuum at the access port, then flush with a cup of diluted white vinegar to prevent algae buildup. In climates where temperatures drop below 20°F regularly, a low-wattage heat trace cable wrapped around the exterior drain section prevents ice blockages.
Safety callout: If the refrigerant lines feel oily or sticky, that is a sign of a refrigerant leak. Do not attempt to repair it. Refrigerant handling requires EPA Section 608 certification. Call a licensed HVAC technician.
Pro Tip: Buy foam insulation in a slightly larger diameter than your line if you are unsure of the size — it is easier to tape a loose fit than to force a tight one over fittings.
Should you cover the outdoor AC unit for winter?
The answer depends on your climate and your equipment type. The wrong cover causes more damage than no cover at all.
| Climate / Situation | Recommended approach | Reason |
|---|---|---|
| Mild winters (rarely below freezing) | No cover or top-only plywood | Unit is built for the elements; full cover traps moisture |
| Cold winters with heavy leaf/debris fall | Breathable fabric cover or plywood top | Blocks debris while allowing drainage and airflow |
| Heavy snow / ice regions | Plywood top weighted or secured | Protects from ice dams and falling debris without sealing sides |
| Heat pump (runs all winter) | No cover — ever | Unit must operate; covering it causes immediate damage |
The one rule that overrides everything: never seal with non-breathable plastic. Plastic traps condensation inside the unit, which accelerates rust, corrodes electrical contacts, and voids many manufacturer warranties. A breathable cover or a plywood sheet on top is the accepted industry approach.
Pros of covering (top-only): blocks falling branches, acorns, and ice; keeps nesting animals out; reduces debris in the fins.
Cons of full covers: traps moisture, creates a warm habitat for rodents who chew wiring, and can cause the unit to start accidentally if someone forgets to remove it.
Pro Tip: Cut a piece of 3/4-inch plywood slightly larger than the top of the unit and set two bricks on it. That is all you need in most climates. Secure it with a bungee cord if you get high winds.
What indoor HVAC tasks should you do before winter?
The outdoor unit gets most of the attention, but the indoor side of your system is where most winter failures actually start.
Air filter: Replace with a pleated MERV 8–13 filter every 30–90 days. If you have pets or allergies, change it every 30 days. A clogged filter forces the furnace or air handler to work harder, shortens equipment life, and reduces indoor air quality during the months you spend the most time indoors.
Thermostat test: Switch to heat mode and set the temperature 5°F above room temperature. Within a few minutes you should hear the furnace or heat pump engage and feel warm air from the registers. If you hear clicking but no ignition, or if the system runs but blows cool air, that is a service call.
Vents and registers: Walk each room and confirm registers are open and unobstructed. Furniture pushed against a return-air vent creates pressure imbalances that make the whole system work harder. Balanced airflow in winter matters more than most homeowners realize.
Condensate drain (indoor): The indoor air handler's condensate pan should be dry or nearly dry in heating season. A standing puddle means the drain is partially blocked. Clear it before it overflows and triggers a safety shutoff.
Pro Tip: Program your thermostat to 68°F during waking hours and 60–65°F overnight. The U.S. Department of Energy estimates that setting back the thermostat 7–10°F for eight hours a day can cut heating costs noticeably over a full season.
How does duct sealing reduce your heating costs this winter?
Duct leaks waste a significant portion of distributed energy, making duct sealing one of the highest-return investments you can make before winter. You can find and fix the most accessible leaks yourself in an afternoon.
DIY signs of leaky ducts: dust streaks near duct seams in the attic or basement, rooms that never seem to reach the set temperature, and noticeably higher utility bills than the previous winter.
Low-cost fixes homeowners can do:
- Apply mastic sealant or metal-backed foil tape (not standard duct tape, which fails quickly) to accessible seams in the attic, basement, or crawlspace
- Add foam gaskets behind electrical outlet covers on exterior walls
- Weatherstrip exterior doors and caulk around window frames
| Measure | Typical DIY cost | Estimated benefit |
|---|---|---|
| Duct seam sealing (accessible runs) | $5–$15 in materials | Reduces distribution losses by 20–30% |
| Weatherstripping exterior doors | $10–$30 per door | Reduces drafts and heating load |
| Caulking window frames | $5–$15 per window | Stops cold infiltration at common leak points |
When to hire: Major duct repairs in finished walls, attic insulation upgrades, and blower-door testing to find hidden leaks all require a professional. If rooms are consistently 5°F or more colder than the thermostat setting, a duct inspection is worth the cost.
For guidance on preventing frozen pipes in the same areas where you are sealing ducts, a plumber can coordinate that work at the same time.
When should you call a licensed HVAC technician?
Some things on the winterization checklist are genuinely not DIY territory. A seasonal maintenance visit runs $80–$250 and covers electrical checks, refrigerant pressure, and heat-exchanger inspection — tasks that require tools and certifications homeowners do not have.
Call a licensed tech if you find any of these:
- Corroded or burned disconnect box
- Frayed, exposed, or melted wiring anywhere on the unit
- Oily or sticky residue on refrigerant lines (refrigerant leak)
- Repeated breaker trips when the system runs
- Gas odor near the furnace or heat pump
- Visible cracks or soot near the heat exchanger
- System is over 10 years old or struggled last season with odd noises or weak output
Scheduling tip: Book 2–6 weeks before your expected first freeze. HVAC technicians fill up fast in October and November. Sending photos of any red flags when you request the appointment helps the tech arrive with the right parts and gives you a more accurate estimate upfront.
A technician-level inspection also checks for hairline cracks in the heat exchanger, a carbon monoxide risk that no visual DIY check can detect. That alone justifies the cost for any system over a decade old.
Why E320air's field experience backs this guide
E320air's technicians work on residential and commercial HVAC systems across the Inland Empire year-round. The most common winter service calls come from three predictable sources: units that were covered with solid plastic and corroded from the inside out, systems that ran all fall on a clogged filter until the heat exchanger overheated, and outdoor disconnects that were never shut off and started during a warm November day.
For a locally specific walkthrough, the Hesperia winterization guide from E320air covers Inland Empire climate conditions in detail. Always check your unit manufacturer's manual before covering, as some manufacturers specify cover types that preserve warranty coverage.
Are your carbon monoxide detectors ready for heating season?
Before you run the furnace for the first time, test every CO detector in the house. Press the test button and confirm the alarm sounds. Replace batteries in any detector that is more than a year old, and replace the entire unit if it is more than seven years old. CO detectors degrade over time and will not reliably detect a leak from an aging detector.
Carbon monoxide is odorless and colorless. A cracked heat exchanger, a blocked flue, or a poorly vented furnace can produce dangerous CO levels within hours of startup. Testing your detectors takes two minutes and is the single most important safety step before heating season.
How do cracks and gaps in your home hurt HVAC efficiency in winter?
Air infiltration through gaps around pipes, electrical penetrations, and poorly sealed door frames forces your heating system to run longer to maintain temperature. The fix is straightforward and cheap.
Walk the perimeter of your home and check where pipes, wires, or cables enter through exterior walls. Fill gaps with expanding foam sealant (a $6 can covers most of a typical house). Check the threshold seal on exterior doors — if you can see daylight under the door, a new door sweep costs under $20 and pays for itself in days. Winterizing your exterior doors properly also reduces the load on your heating system throughout the season.
Attic hatch covers are one of the most overlooked air-leak points. An unsealed attic hatch can lose as much heat as leaving a window cracked open all winter. A piece of rigid foam board cut to fit and held in place with hook-and-loop fasteners is a 20-minute fix.
Key Takeaways
Completing the six winterization steps before your first freeze protects your HVAC equipment, reduces heating costs, and prevents the most common spring repair calls.
| Point | Details |
|---|---|
| Power off before anything else | Shut the outdoor disconnect and breaker before cleaning, inspecting, or covering the unit. |
| Filter replacement is the highest-impact DIY step | Replace a pleated MERV 8–13 filter every 30–90 days; more often with pets or allergies. |
| Never use solid plastic covers | Breathable fabric or a plywood top prevents moisture trapping and corrosion. |
| Duct leaks cost real money | Sealing accessible duct seams can reduce distribution losses significantly. |
| Call a pro for electrical or refrigerant issues | Corroded disconnects, exposed wiring, and oily lines require a licensed HVAC technician. |
| E320air handles what DIY can't | E320air's seasonal winterization visit covers safety checks, electrical inspection, and filter guidance for Inland Empire homeowners. |
What most homeowners get wrong about winterizing HVAC
The plastic-cover mistake is the one that costs people the most money. Every fall, homeowners wrap their condenser in a hardware-store tarp, feel good about it, and discover in April that the interior is rusted and the wiring has been chewed by mice that moved in over the winter. A plywood top and nothing else would have been better.
The second miss is treating the filter as optional. A furnace running on a clogged filter in January is working twice as hard for half the output. It is the kind of slow damage that does not show up as a single repair bill — it shows up as a system that dies three years early.
The third thing techs find constantly: outdoor disconnects that were never shut off. The unit does not run in winter, but live power at a corroded disconnect box is a fire and shock hazard sitting outside your house for six months.
Forty-five minutes in October prevents most of it.
E320air's seasonal winterization service
Prefer to hand this off to someone who does it every day? E320air's winterization visit covers a full visual inspection of the outdoor condenser and disconnect, refrigerant line check, indoor filter assessment, thermostat test, and safety review — everything in this guide, done by a licensed technician who can spot the problems a homeowner might miss.

Book 2–6 weeks before your area's first expected freeze. Inland Empire winters can arrive quickly, and scheduling fills up in October. For commercial properties or multi-unit buildings, E320air's commercial HVAC services handle larger-scale seasonal prep on the same timeline.
Ready to schedule or get a quote? Visit E320air to request a seasonal service appointment. Estimates are straightforward — send photos of your unit and disconnect box when you reach out and you will get a more accurate number before the tech arrives.
Useful sources and further reading
The most authoritative guidance on HVAC winterization comes from the U.S. Department of Energy (energy.gov) for energy-savings benchmarks and duct-sealing guidance, and from ENERGY STAR for equipment efficiency standards. For safety protocols around carbon monoxide and combustion appliances, the Consumer Product Safety Commission (cpsc.gov) publishes clear homeowner guidance.
Always check your specific unit's manufacturer manual before covering or servicing — cover specifications and warranty terms vary by brand and model. If your manual is lost, most manufacturers post PDF versions on their websites by model number.
For deeper reading on related topics, E320air's blog covers home heater maintenance, HVAC startup procedures, and indoor air quality improvements for homeowners who want to go further than seasonal prep.
This article is general information for homeowners and property managers. For your specific system, climate, and warranty conditions, confirm current guidance with your unit's manufacturer or a licensed HVAC professional.